After I did my previous set of textile experimentations I still wasn’t too pleased with the results, I wanted to get clearer images and also get rid of the blue ring around the photos.
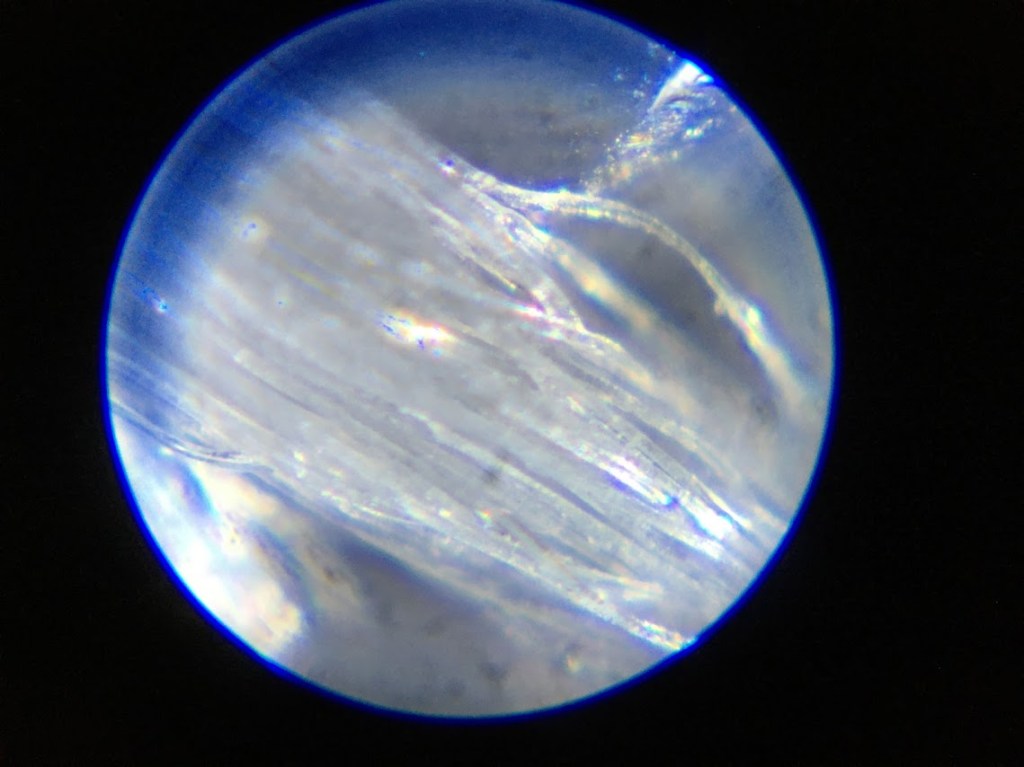
Then I managed to zoom the microscope in a bit more which gave me better results.
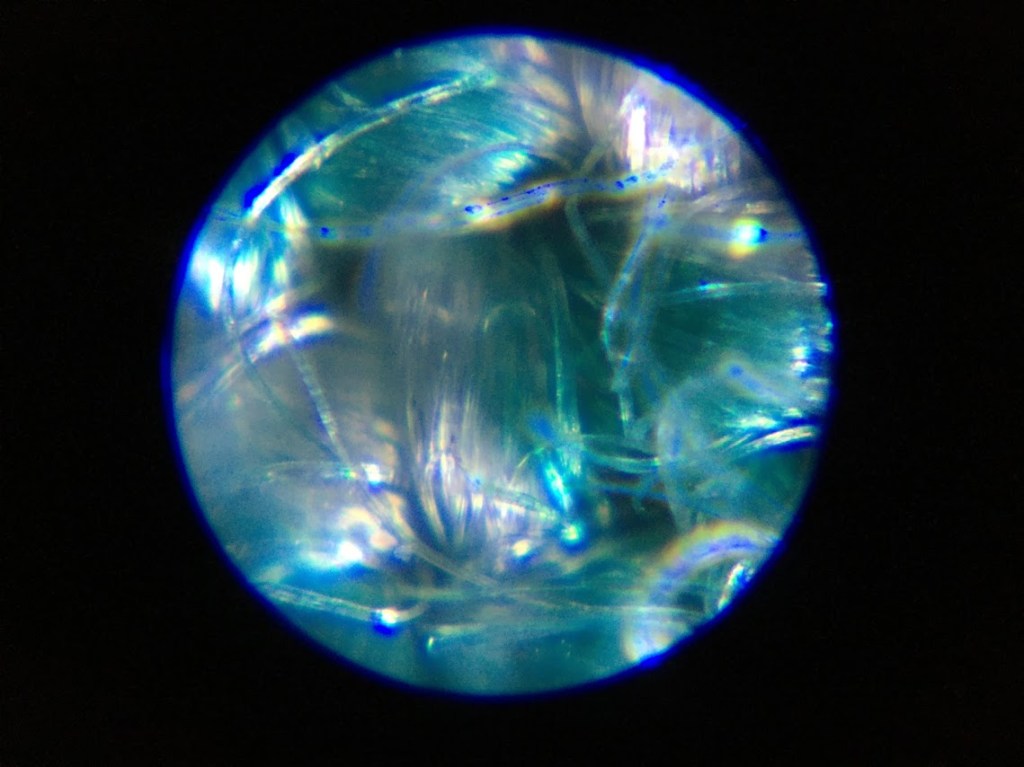
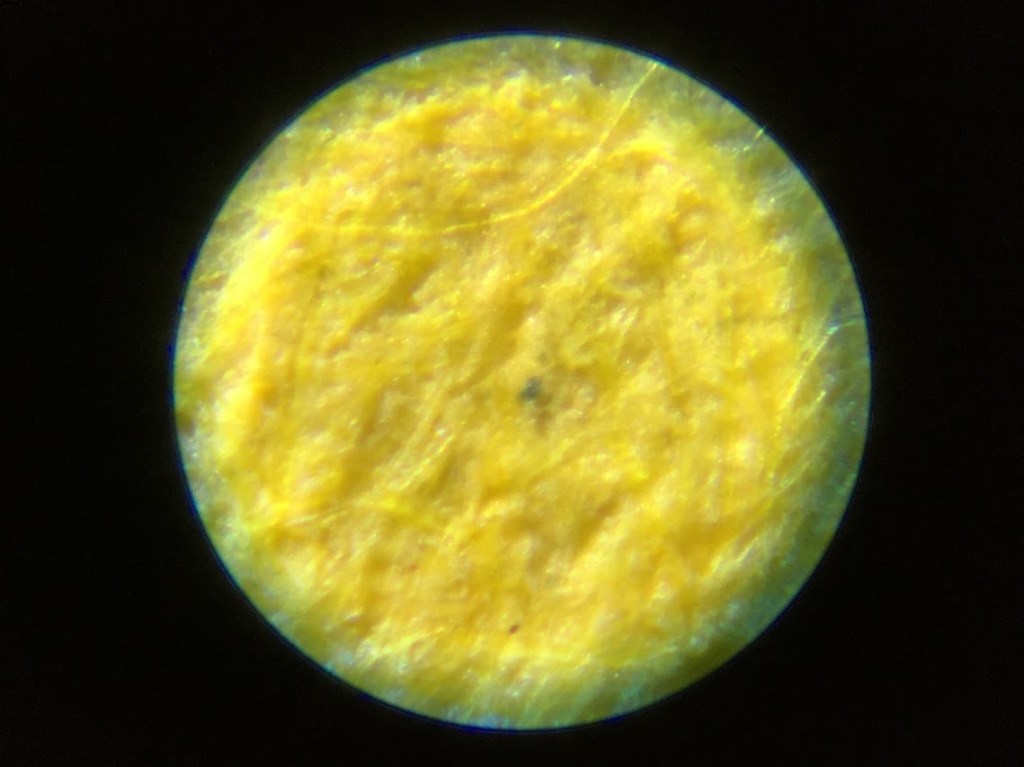
They came out somewhat clearer and it removed the blue ring completely and thankfully, the images still have a glowing effect to them.
In my previous blog I had stated that I wanted to experiment with a series of different textiles under the microscope, however I didn’t want to simply have the basic textures/fabrics of everyday clothing. I wanted to find a mixture of different kinds of fabrics in order to gain more of an idea as to what I want my final pieces to look like.
I managed to get ahold of a multitude of different textiles which caught my interest – I had a variety of colours and textures, I had some thinner materials as well as thicker, tougher materials which I knew would be great for experimentations.
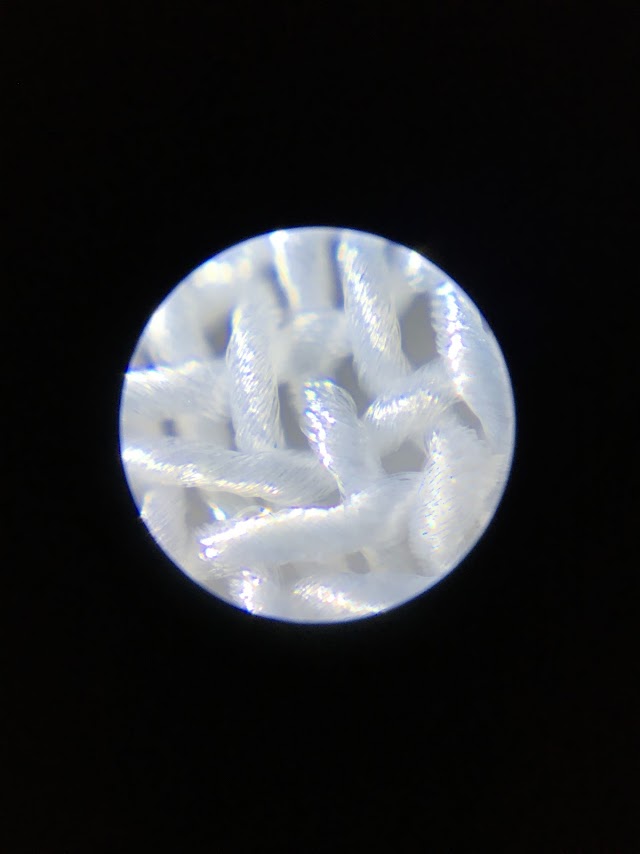
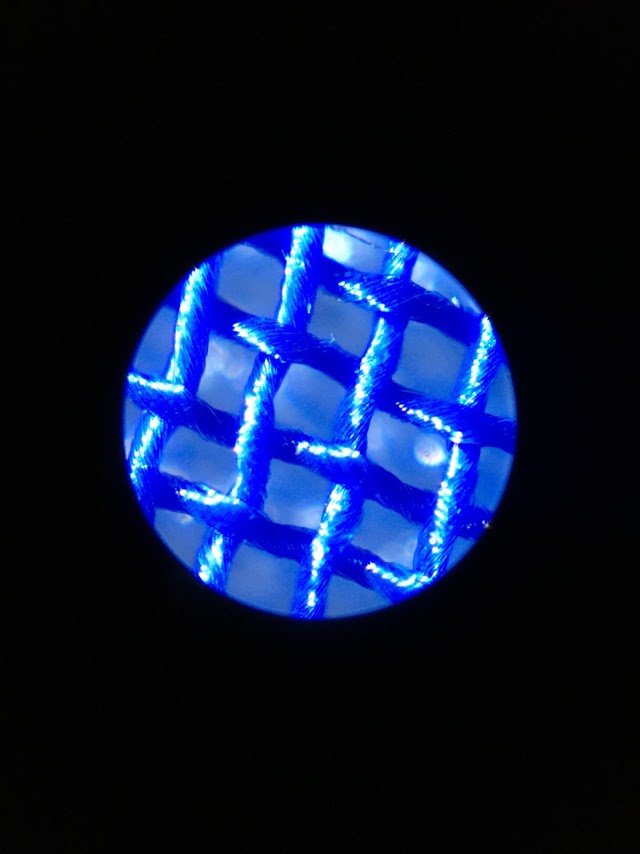
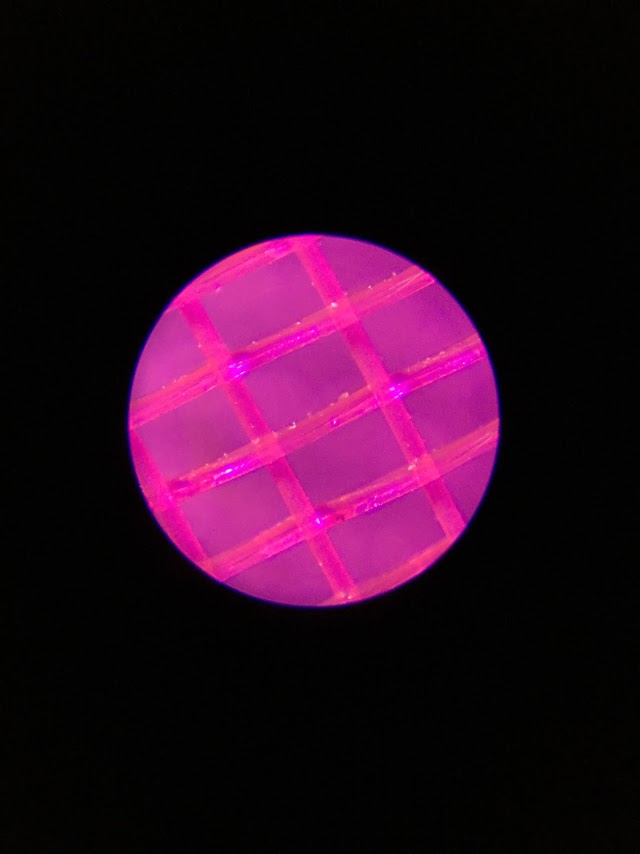
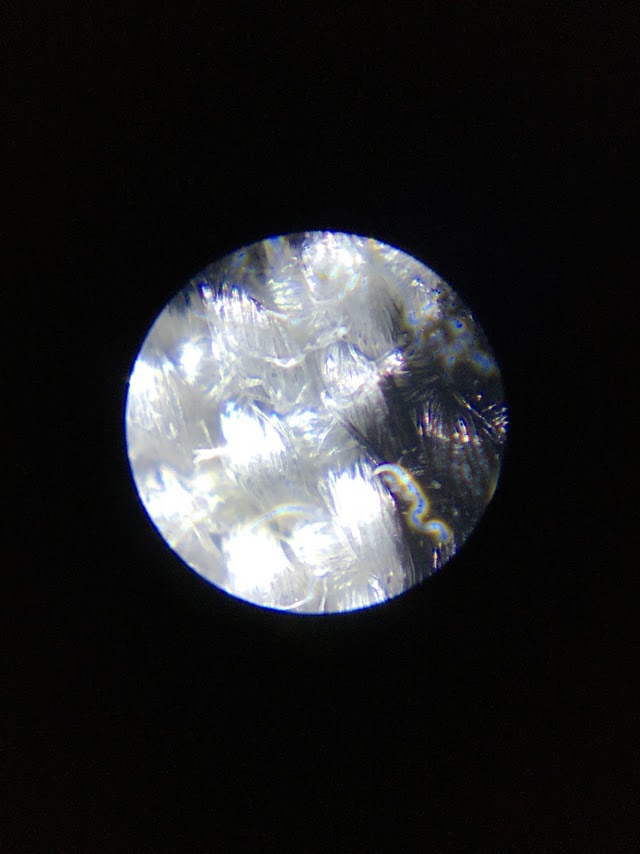
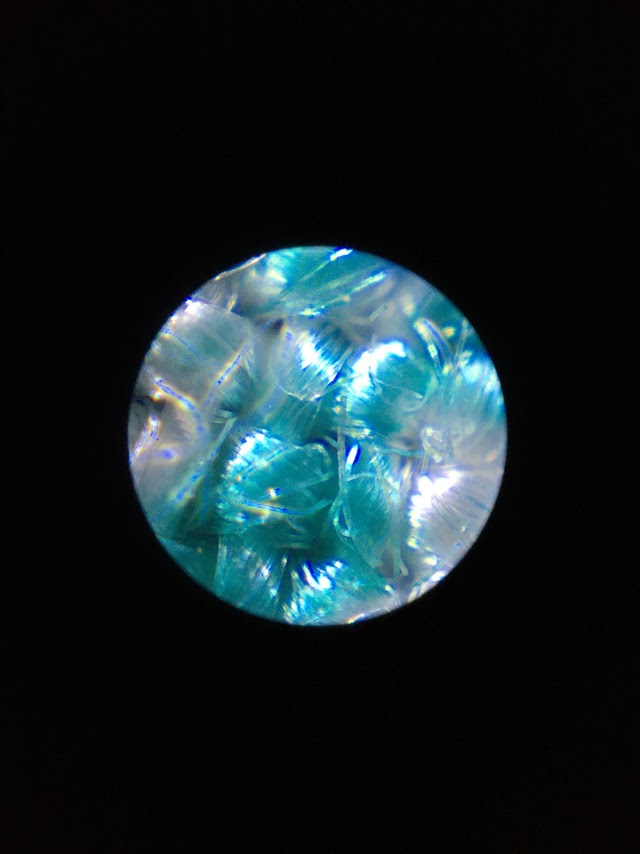
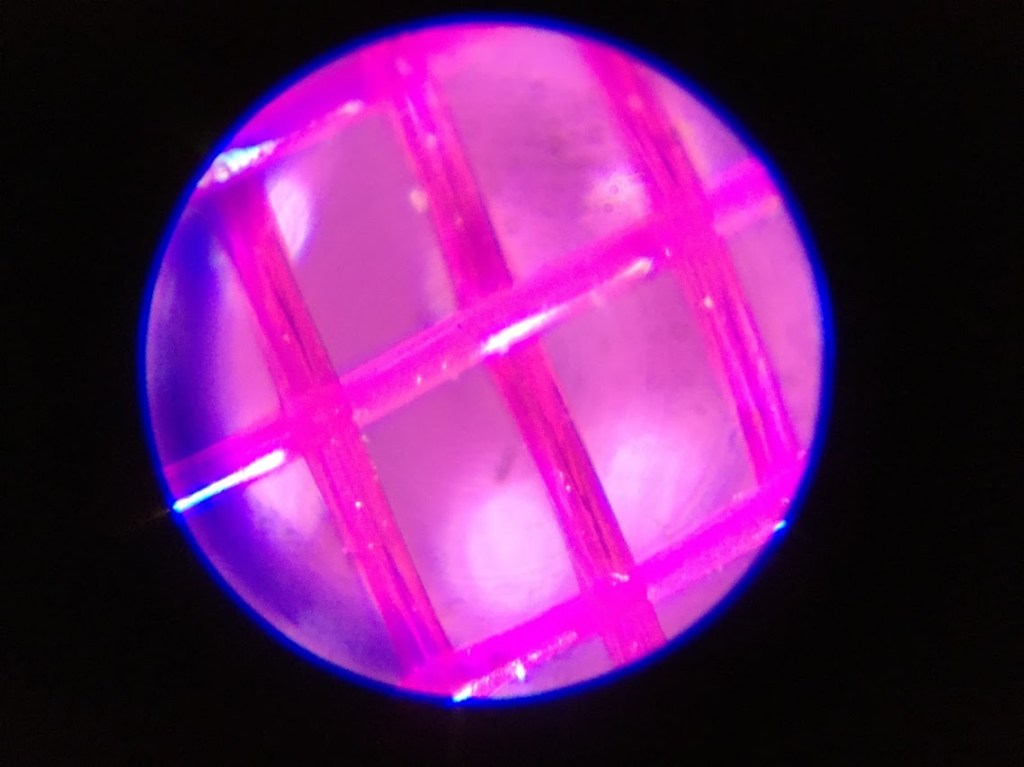
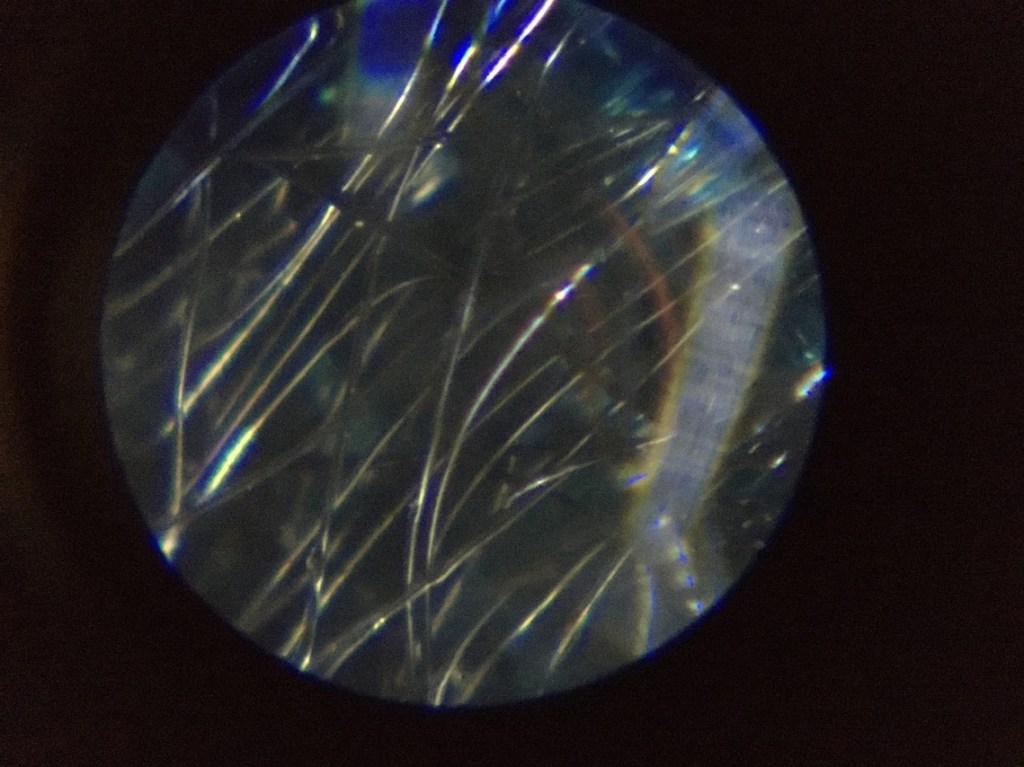
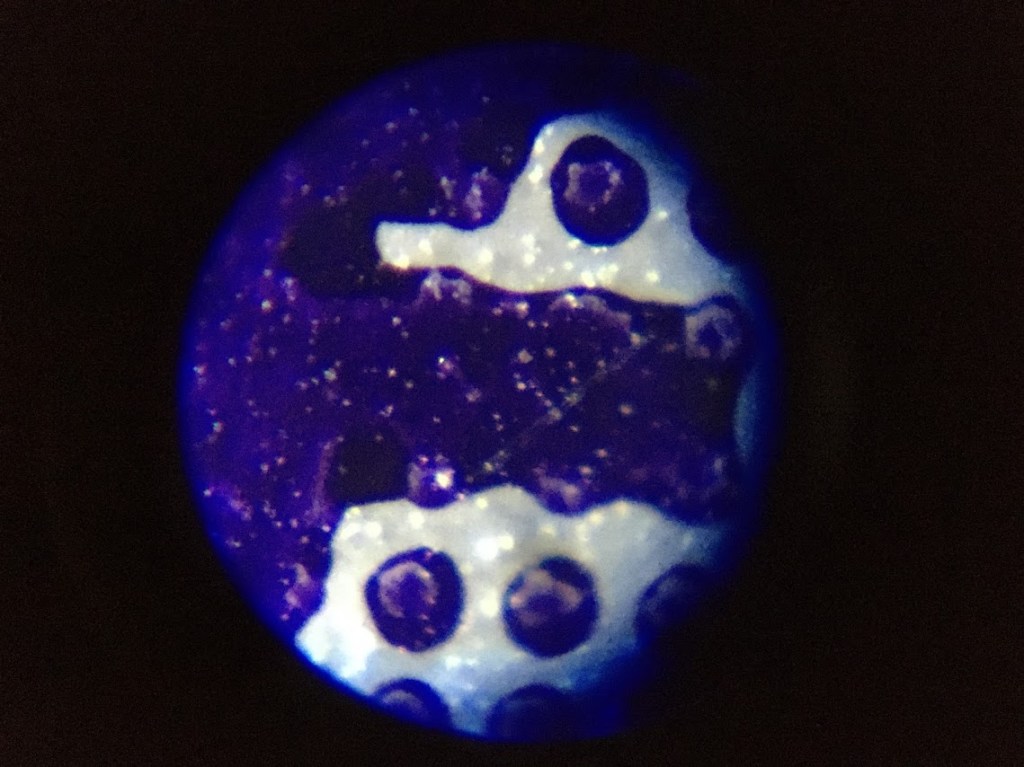
There were two pieces of a mesh-like fabric which was incredibly fine and quite see through which I was immediately drawn to as it wasn’t your basic material from a t-shirt or a jacket. The fabric proved to be quite interesting as it had the criss-cross pattern which I thought was pretty nice.
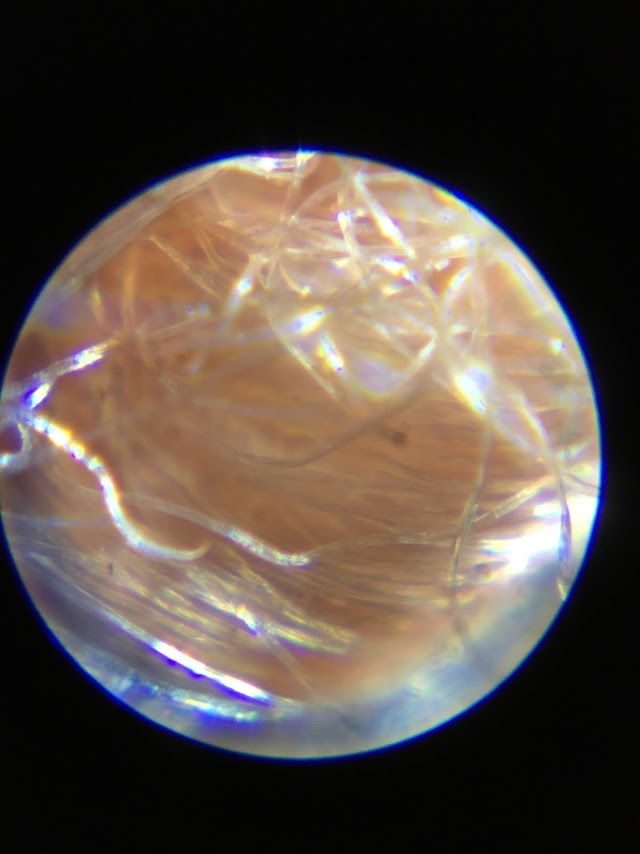
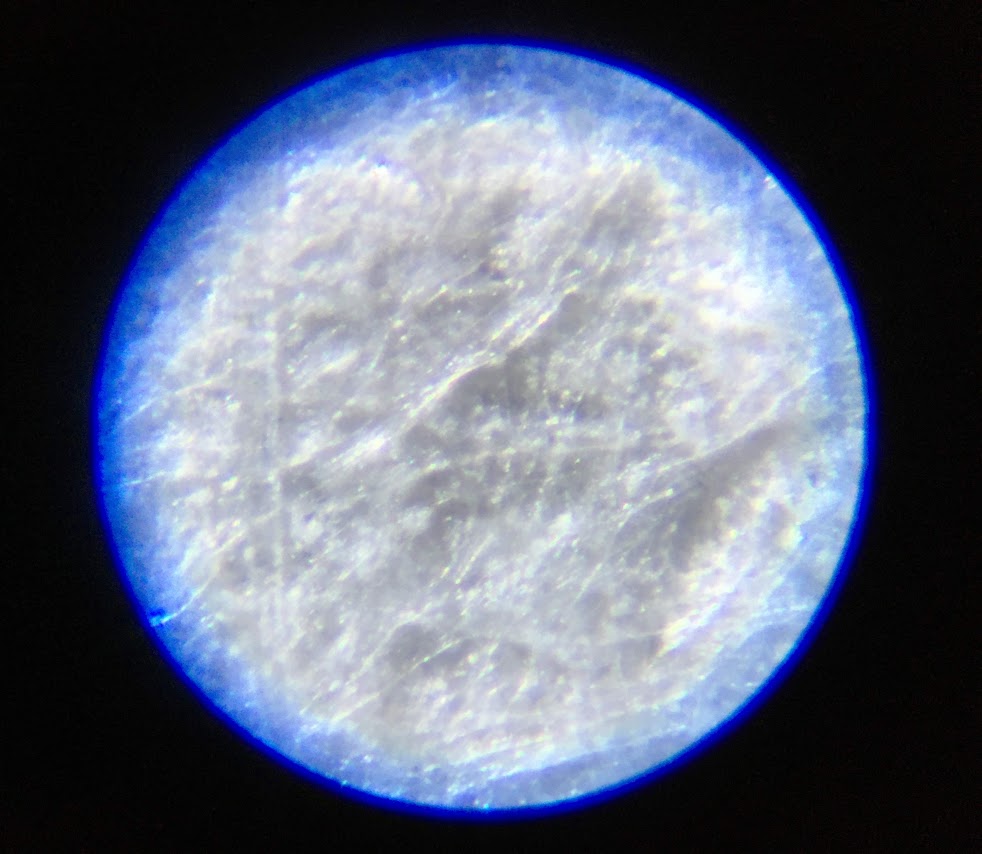
At first I attempted to take photos of these fabrics by themselves against the table surface however, it made the image a bit too dark therefore I used another one of the materials – a bright, white fabric which worked well with the brightly coloured mesh.
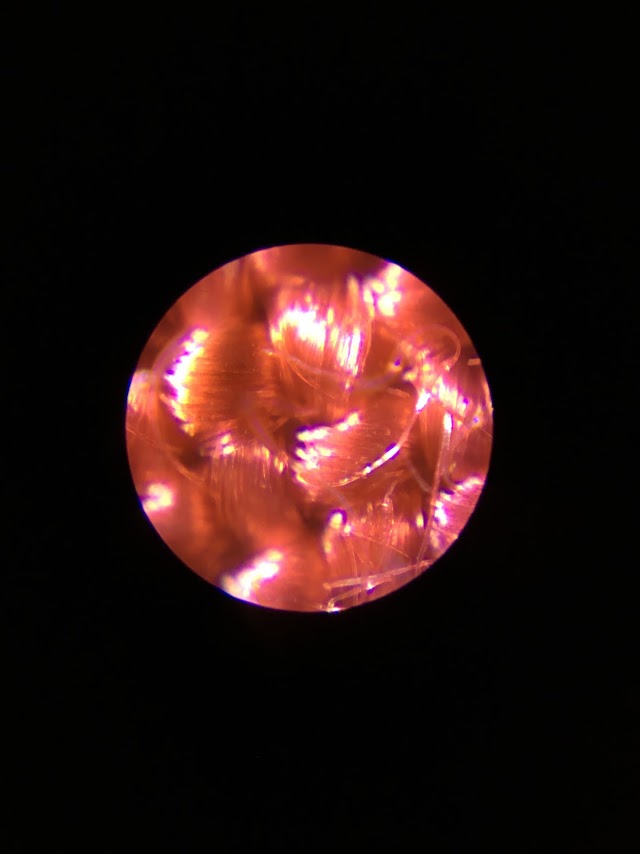
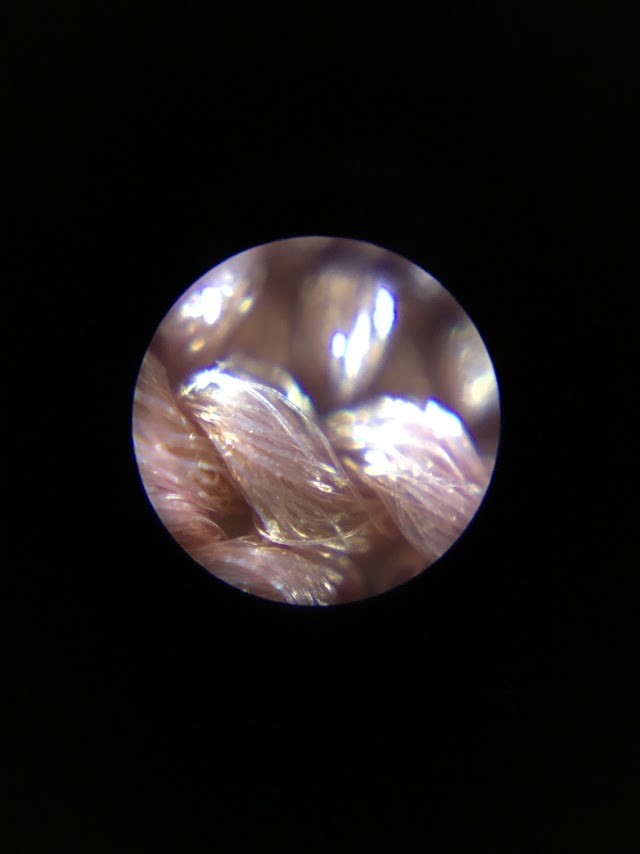
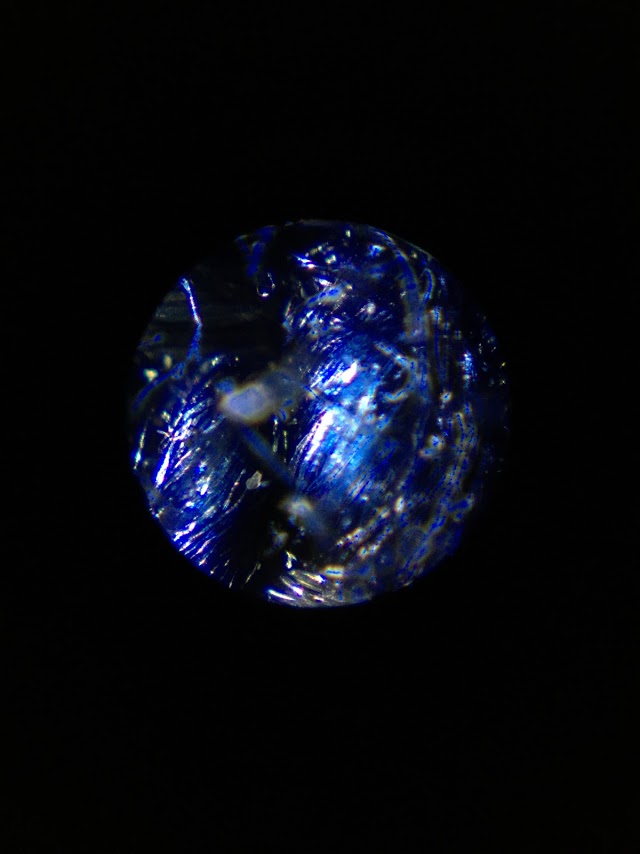
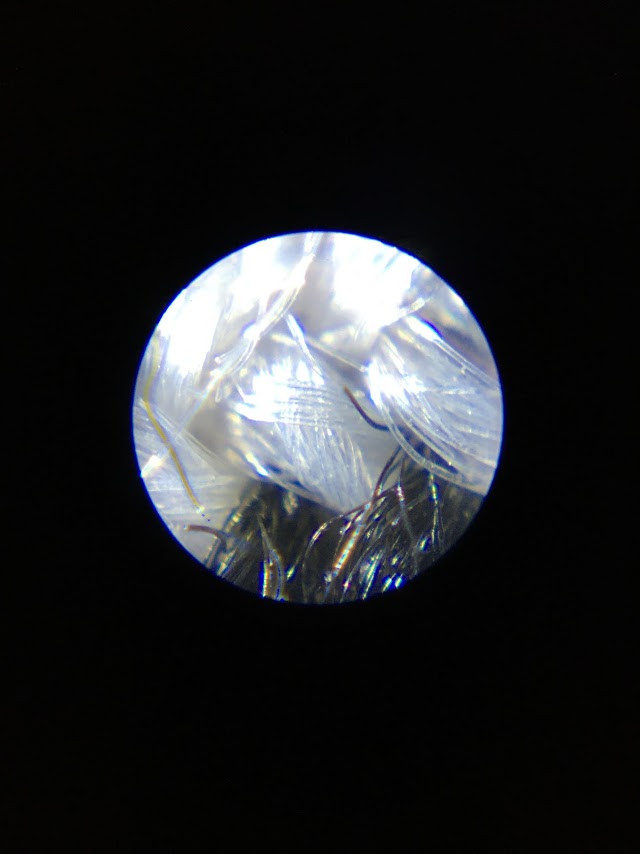
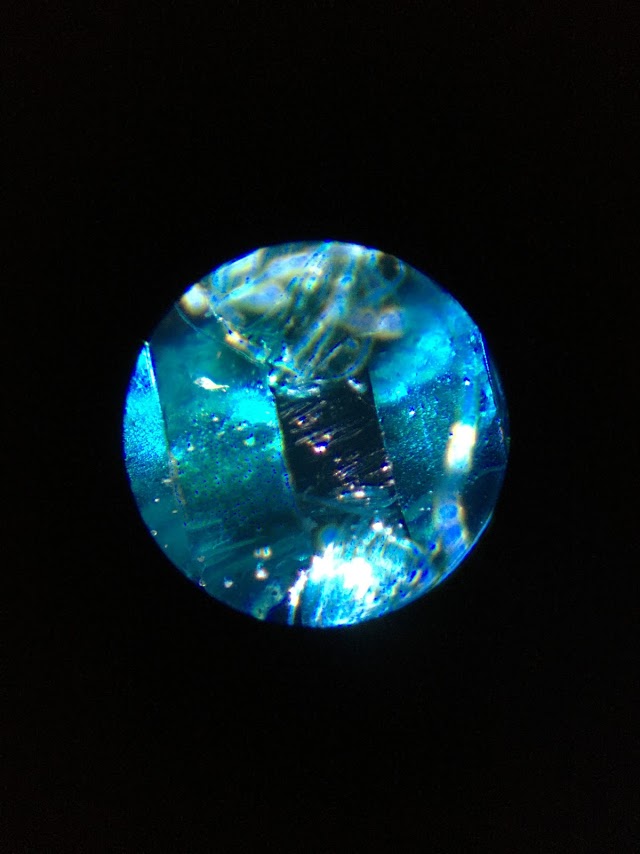
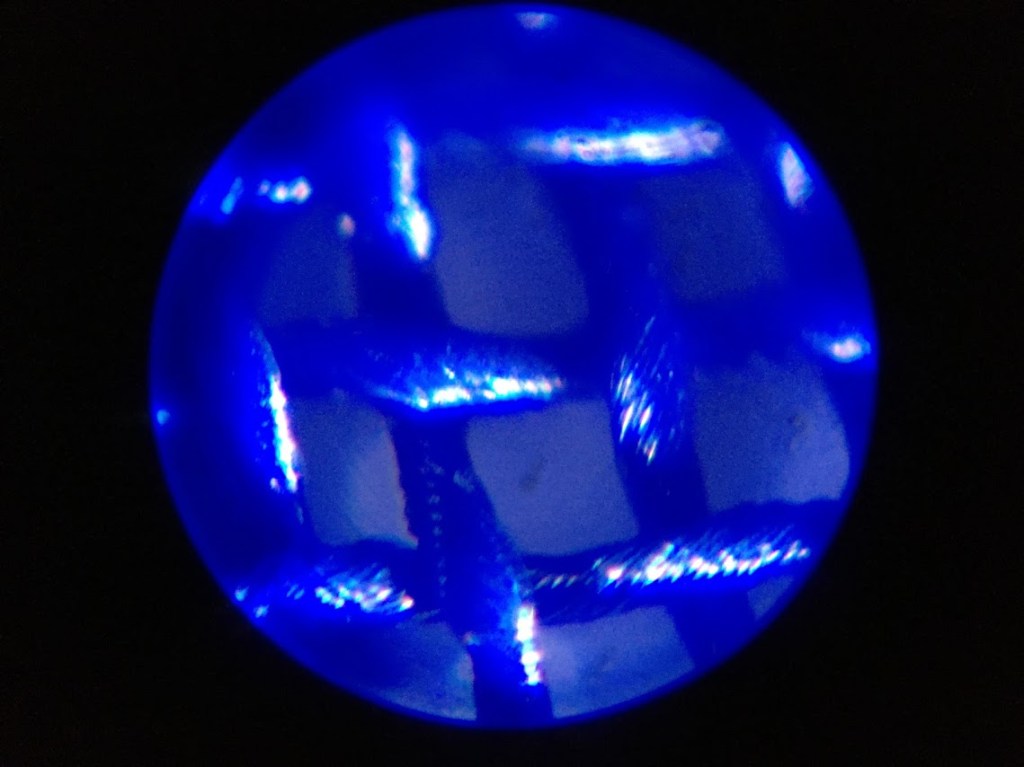
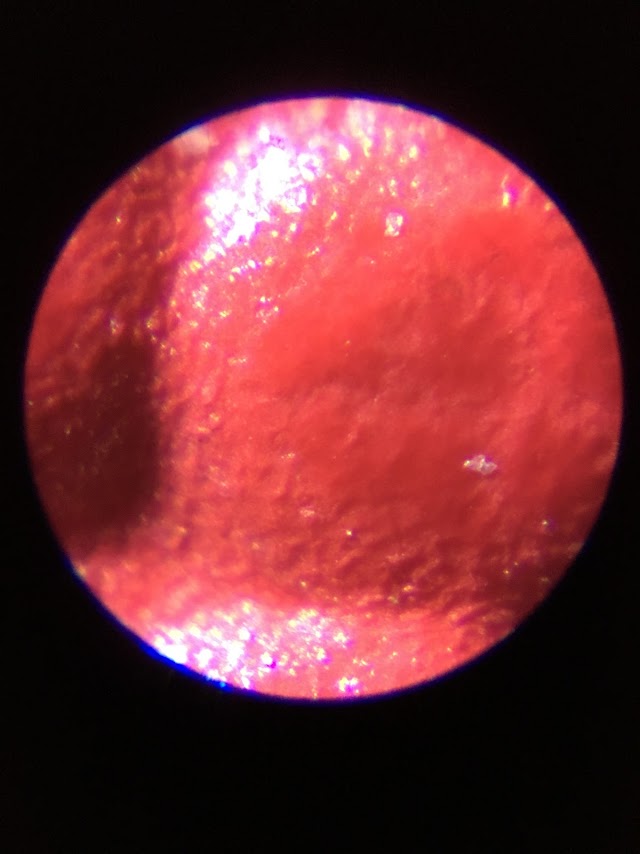
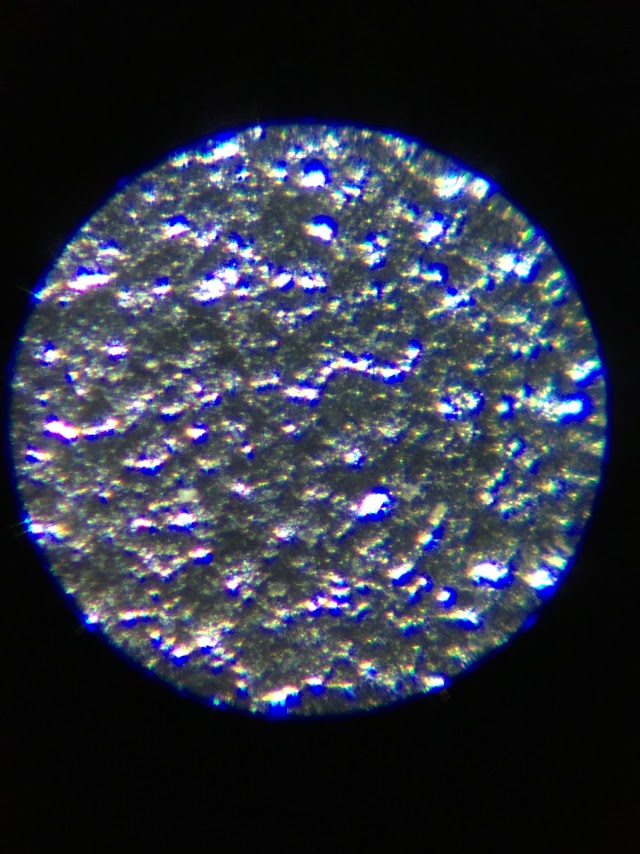
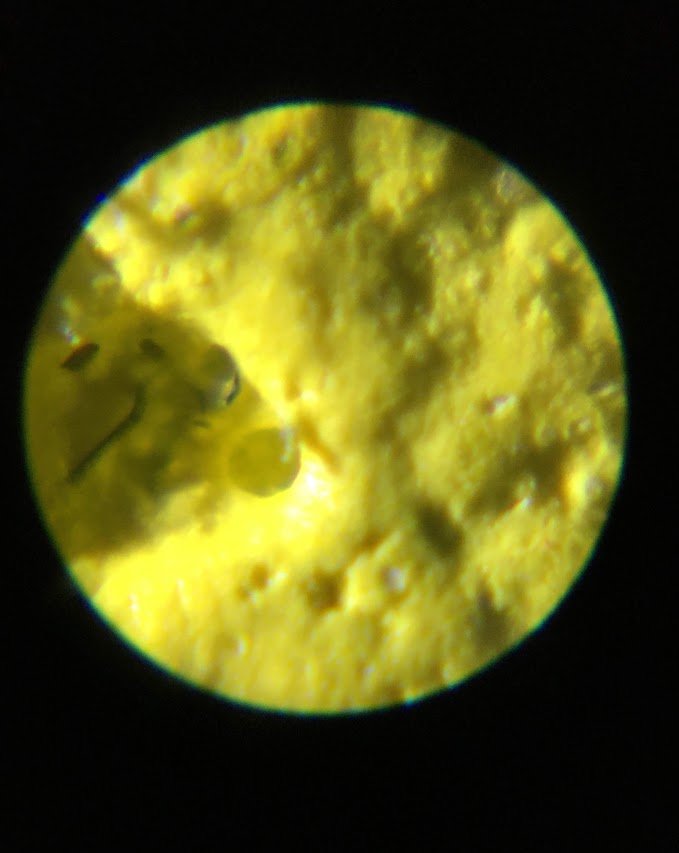
I found yet another loose fabric which had a similar look to the mesh ones, however the blue material was a thicker, shimmery material. At first I thought this material was going to be somewhat difficult as the light already added the effect I had issues with previously, however it seemed to come out quite successfully.
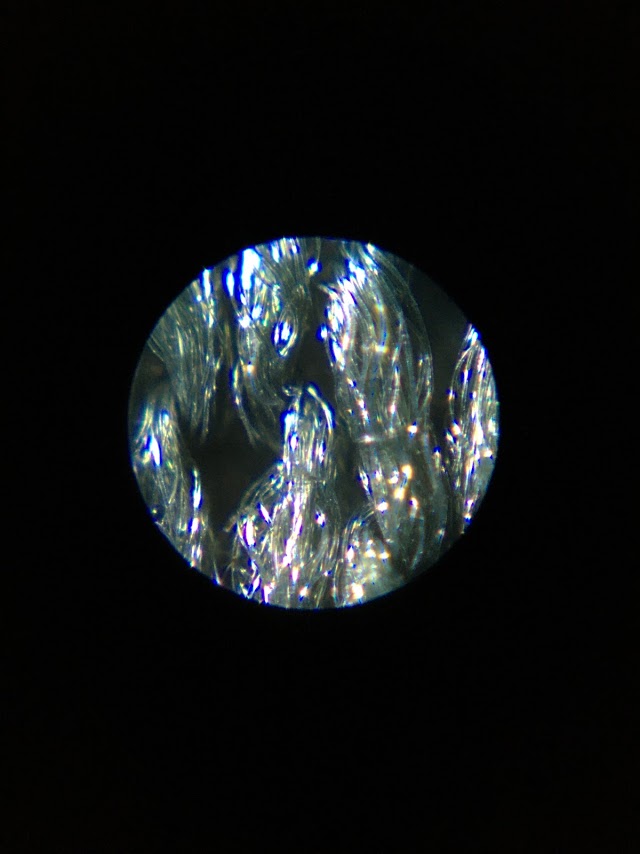
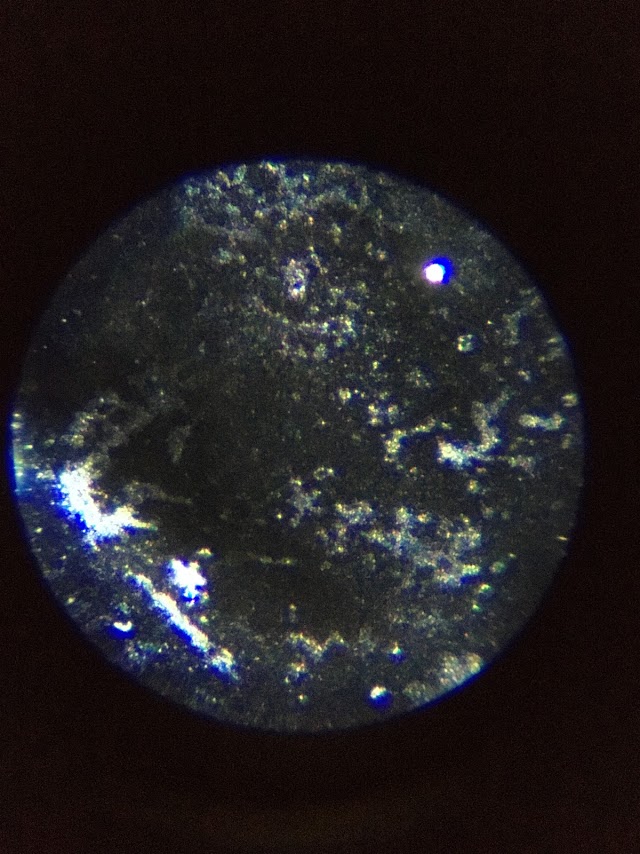
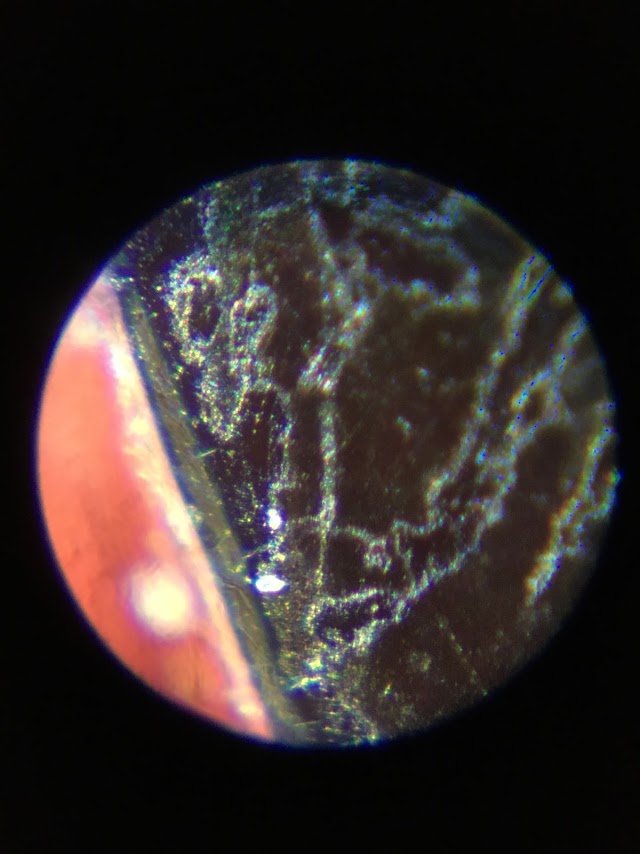
These two materials varied the most – the image on the left was a piece of black leather-ish material whereas the image on the right was from a thick, embroided piece of material.
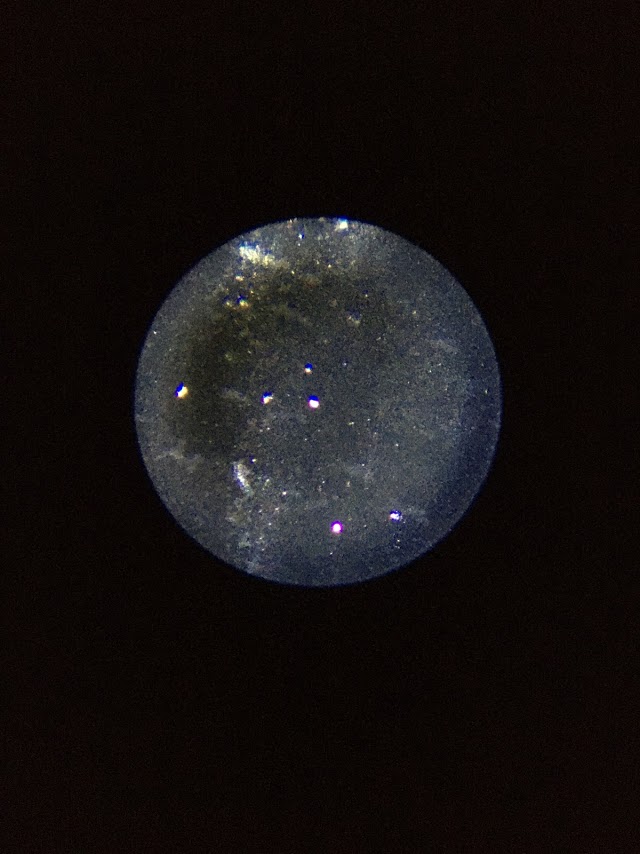
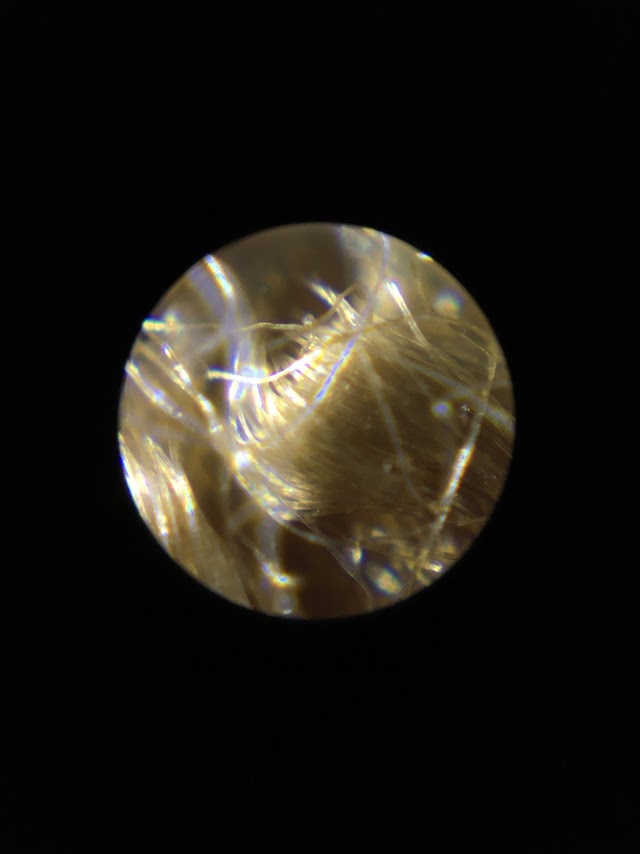
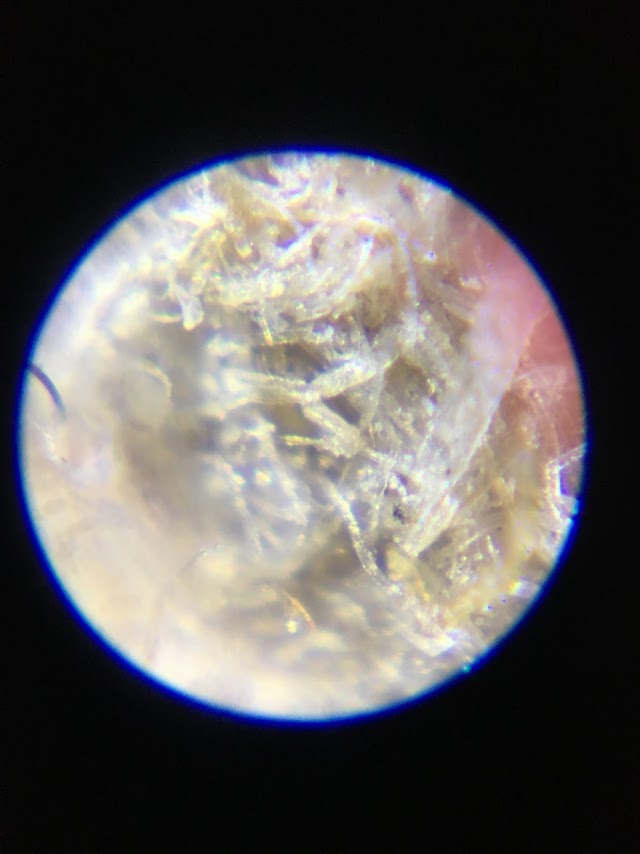
The first image is from a piece of what looked like black denim which was quite thick compared to the other material – stuffing from inside a stuffed animal.
For the second image I had to take several shots as I couldn’t place it directly under the microscope as I couldn’t focus the lens properly, so I had to somewhat hold the microscope above the material whilst trying to take the image. Nevertheless, I am pleased with how these came out.
In my opinion they were more successful than my previous attempt since I now knew what had to be done.
Once I did research and knew I was one hundred percent certain that I wished to continue this route, I began to do some experimentations. I used a microscope and was able to take several photographs using my phone camera.
Some of the images had a blue ring around them, I attempted to get rid of it and succeed in only a handful of images, however I still enjoyed the process. It was quite fun to do – originally I thought it was a very simple process however it did take a while to get the phone in the right position and try to get rid of the blue ring. Especially images like the one above (left); a close up of a piece of paper where the blue showed up with ease because of the white background.
In the image (right) image the blue wasn’t as harsh – however it was still there, which was aggravating as they kept either having the blue ring or almost like a glimmer to it. But I was still happy to get some of the results that I got.
This is one of the images with the better results, there wasn’t much of a blue ring and there wasn’t the shimmering I had previously mentioned. It was a close up of a sticker.
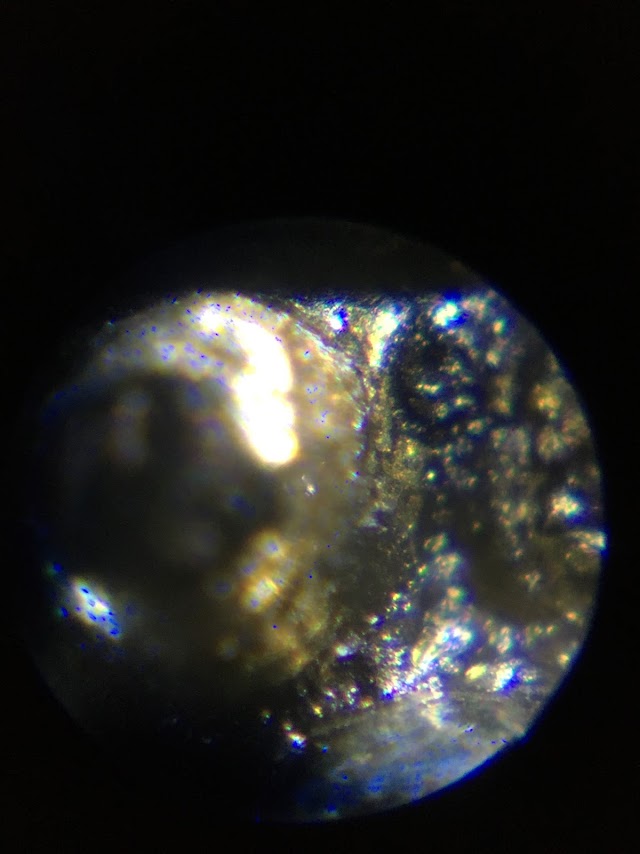
I took these three photos of a purse as it had a mixture of textures – leather, metal and string which gave me multiple images varying in texture making them seem like three different images.
These are two examples of the glimmering effect that started to take place after a while – there’s multiple other images which look similar. At first, I believed it was the fact it was on a metallic surface however I took photos of fabrics such as jeans and hoodies with a similar effect to them.
This was a close up of a food wrapper – it had the blue circle, however it thankfully blended due to the colouring on the packaging.
This was a close up of a logo on a hoodie which is yet another image that had a glimmering effect. For my final piece I am planning on getting several microscopic images of different fabrics/textiles. I’m hoping to have a range of colours going in order.
As I somewhat had an idea on what I wanted to do for my project, I decided to immediately get onto doing some experimentations in oder to figure out the kind of textures I thought looked best for my project and also to get me used to macro photography – leaving me with a clean and crisp image.
During the beginning I couldn’t get used to the focus, so a few images were out of focus or in some cases, they were too dark but I feel like the experimentations were successful overall.
However, it’s not a disaster if they come out like the image above as personally, I thought it looked quite nice – the focus wasn’t too bad, the image itself is however dark.
This image came out very well, the white background definitely helped make the image less dull and this was one of the image that I felt the focus was best.
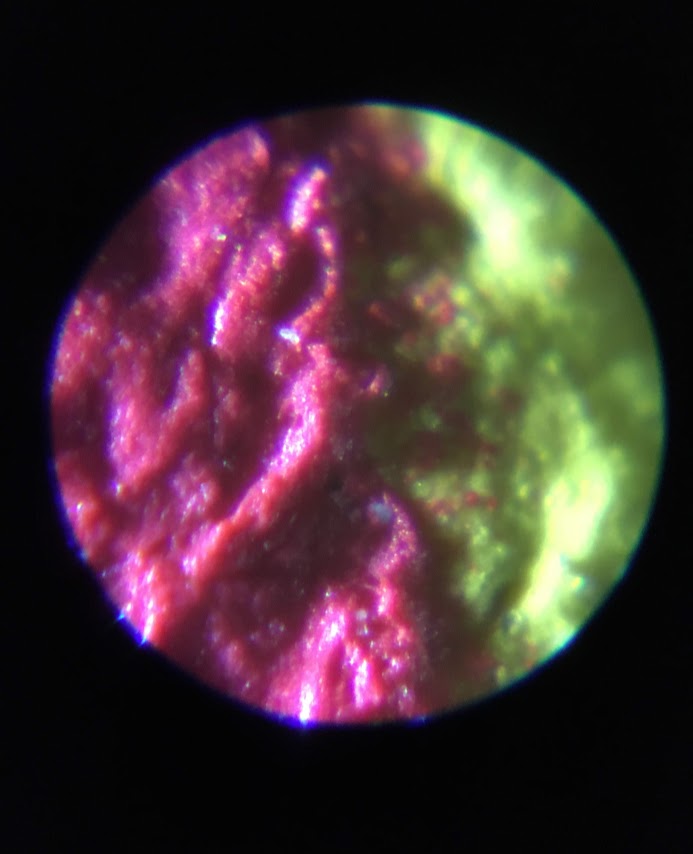
I experimented with other objects to try and explore the different textures as well as improve my lighting since a portion of the photos were quite dark or out of focus. However, I quite like this image as it had splash of colour and there was more than one colour.
I plan to continue exploring different textures and methods to help with my experimentations.
The focus wasn’t the best on my last two photos however I was determined to try out a few other objects before calling it quits. I was starting to get the hang of focus, so I tried using a smaller object – a pin and then I tried a plastic wheel.