After doing some research, I began to get some stock images in order to start getting some experimentations done. This unit I had stated that I was determined to improve my time management and my experimentations, therefore I was adamant on creating at least a handful of experimentations early on in order to progress further in this unit.
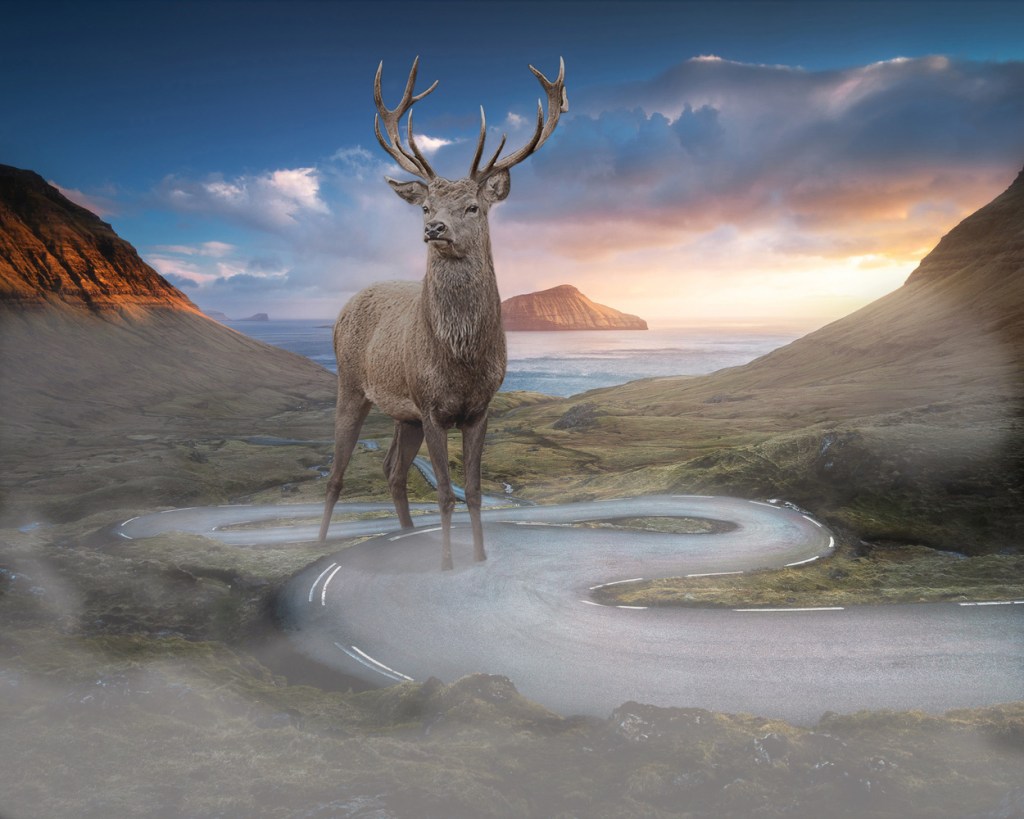
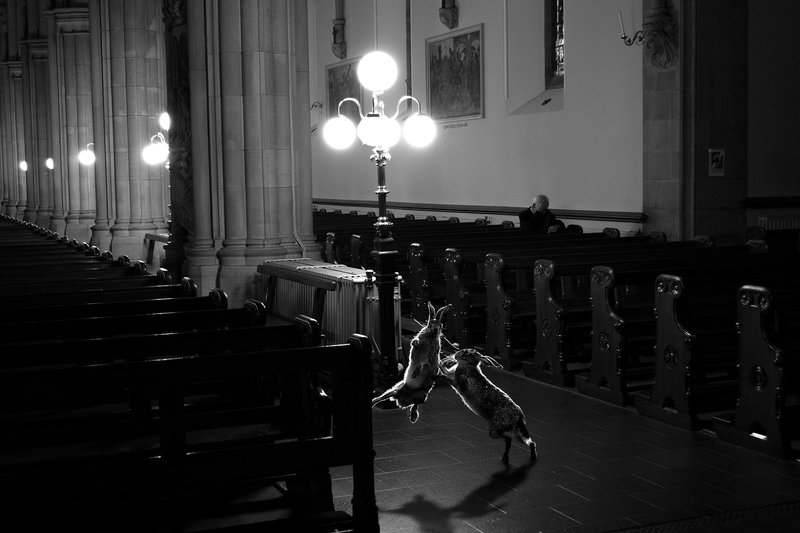
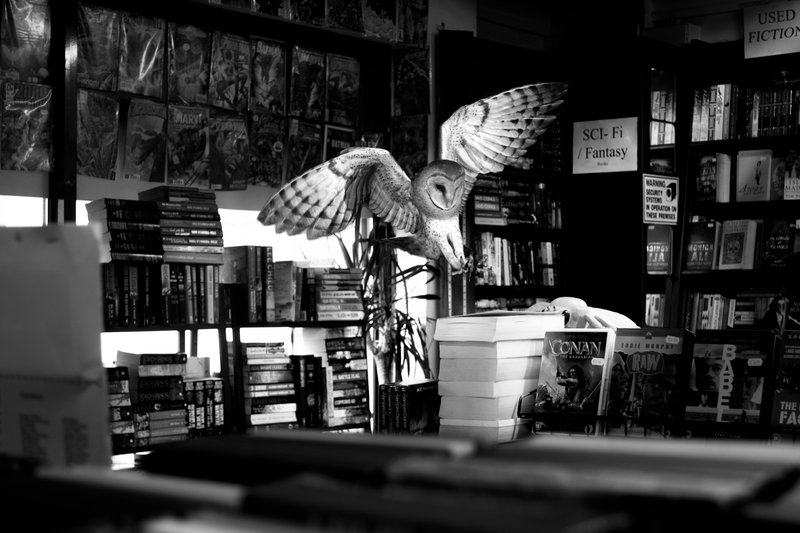
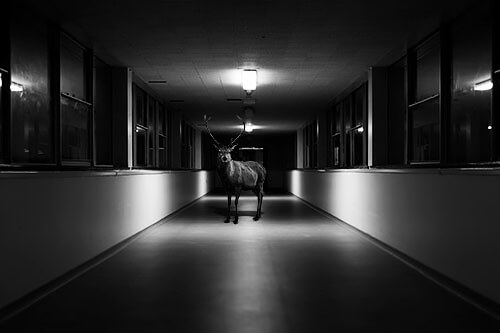
With this image I wanted to attempt to combine the idea of giant animals as well as adding them to a location they wouldn’t usually be found in. I tried to blend the image in as much as I could, however with the other images I used a cloud to try to add that depth to the image – which I couldn’t do too successfully in this environment.
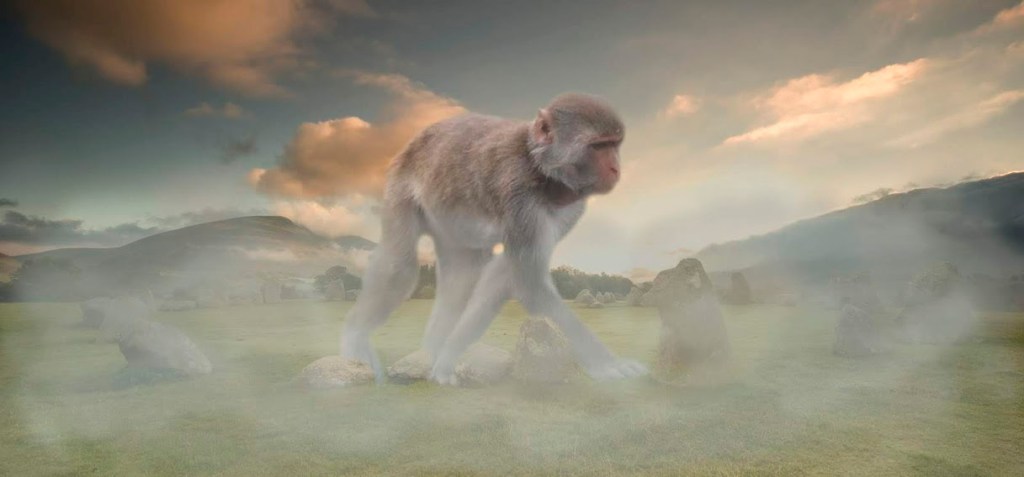
Once I had done some of the other experimentations I decided to try using images of animals that I had taken and added them to different environments – not necessarily in unusual, but in a larger scale with clouds/mist in order to add a bit more depth and perspective to the images.
Overall I am extremely happy with the outcome of my experimentations and am enjoying the process of it all, I am now thinking of attempting to try black and white versions in an attempt to improve.
After doing some research I came across an artist called Jason McGroarty who immediately peaked my interest with the image above. I didn’t quite know how to start research on this topic – in fact, I was still attempting to come up with ideas as to what exactly I wanted to do.
This series of images applied to me as I want to do animals in a “different” location or animals in a larger scale – so, his work easily caught my attention.
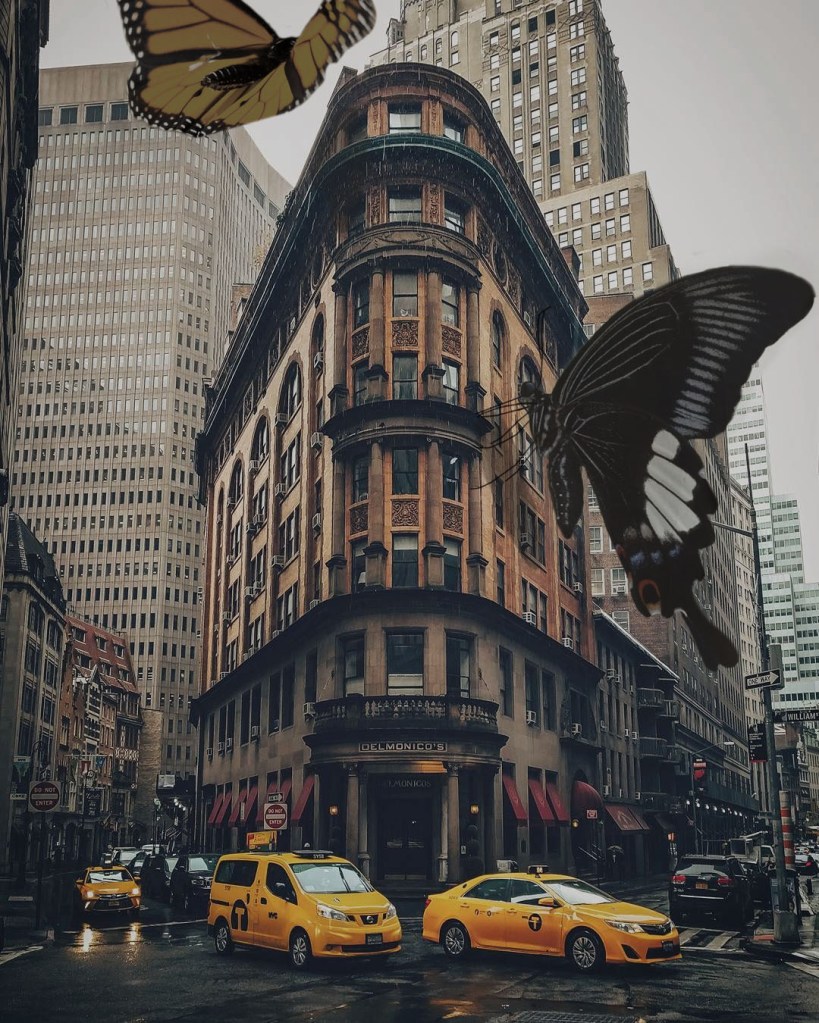
He is known for his surreal pieces, this series “Totem” being one of the most infamous one. Where he photographed these different locations and added various animals to create these obscure image – only because they are photographed in places they would not usually be found in.
I aim to produce a few pieces – even as experimentations that resemble his work as I am extremely interested in his line of work and this series, so I hope it will help me with my final pieces in the long run.
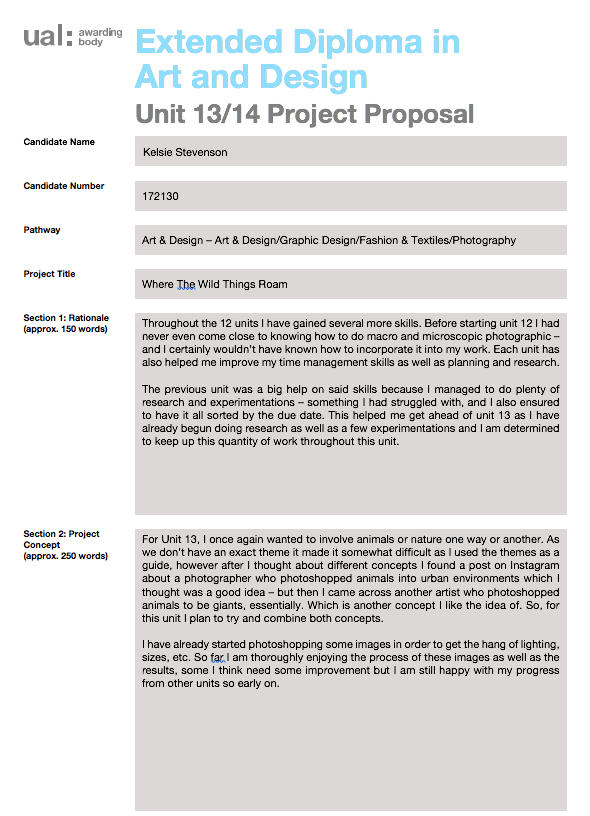
For Unit 13, I am certain that I want to try and incorporate nature into my FMP – to me more specific, animals. I am still unsure as to what exactly I wish to do, however I know for sure that it is animals I want to have as my main focus, or at least something involving nature.
I have mentioned in previous units that I wish to incorporate nature into my work as much as I can as it has always been a big passion of mine. I believe that it will also be good for me to do so as it adds so much to photography when you genuinely have a passion for the subject.
However, it may be easy to say I want to incorporate animals into my work but this unit hasn’t got a theme – which is something that I had as a guide beforehand, so now I don’t have that help as such meaning I have to try and think of something that I can do, because I can’t simply take photos of animals and hand it in, it’s got to have something.
One idea that I had was to take photos of some landscapes – varying from a busy town to a quiet street and then later photoshop animals into them since it isn’t something you would usually see. I am hoping to end up with some images such as a deer in the middle of Fareham highstreet or a polar bear on Lee-On-The-Solent beach, things you would not expect to see at all.
My initial idea for Unit 12 was to do macro nature shots as I once again, wanted to somehow incorporate nature into my project. However, after doing some experimentations with macro I realised I wasn’t pleased with many of the outcomes.
I tried with a leaf, cactus and even with live bugs. None of the final images felt right, it seemed to be a lot of hassle and I started to think of other methods to get those final images for the project. I was also worried about time management as that was something I had struggled with a lot over previous units.
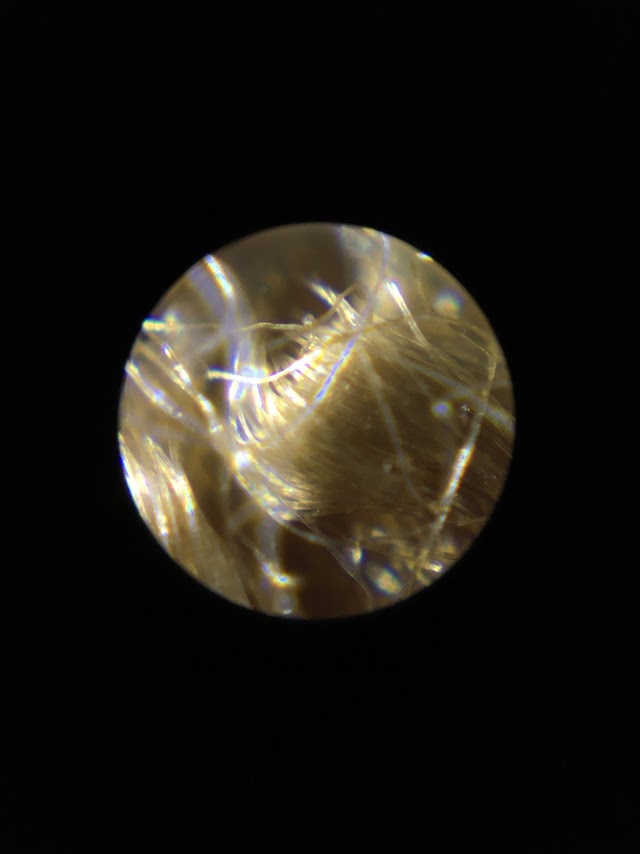
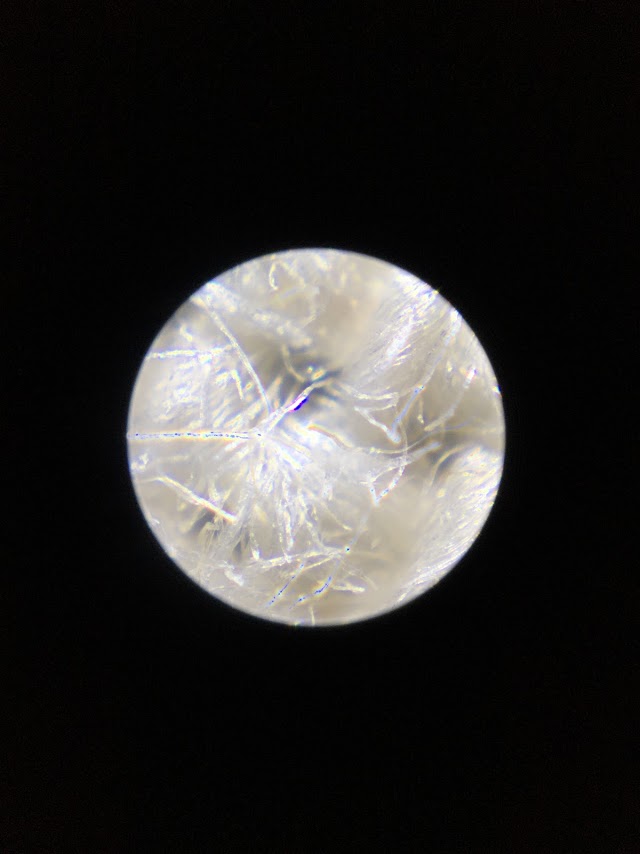
After plenty of brainstorming, I came up with the idea of microscopic photography but I first began to experiment with textiles – using my jacket, jeans or some random bits of fabric I managed to get.
Then, I realised how fascinating it was looking at the different types of materials. So, I scrapped my idea of including nature in this and decided to attempt to find as many different fabrics/materials I could and then I would hopefully be left with multiple images varying in colour, material and overall appearance.
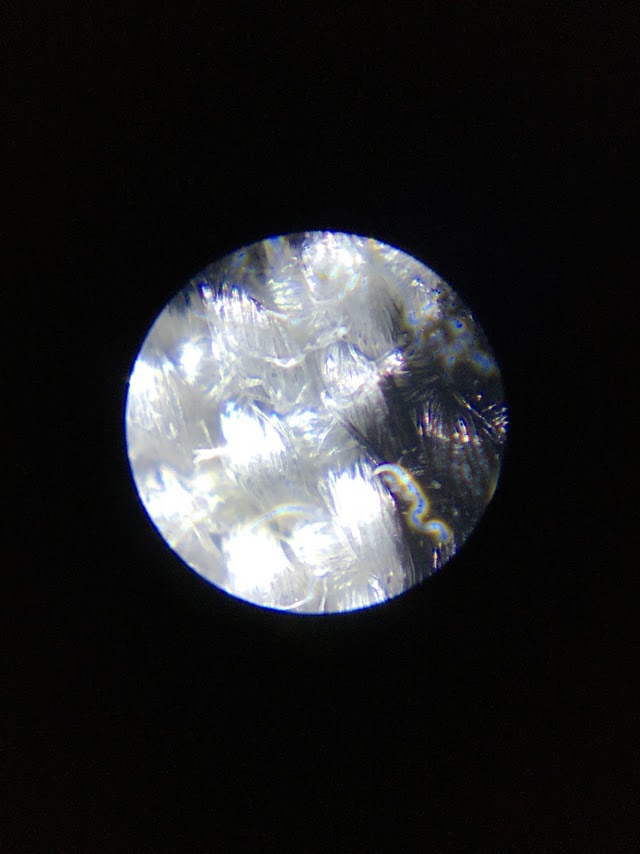
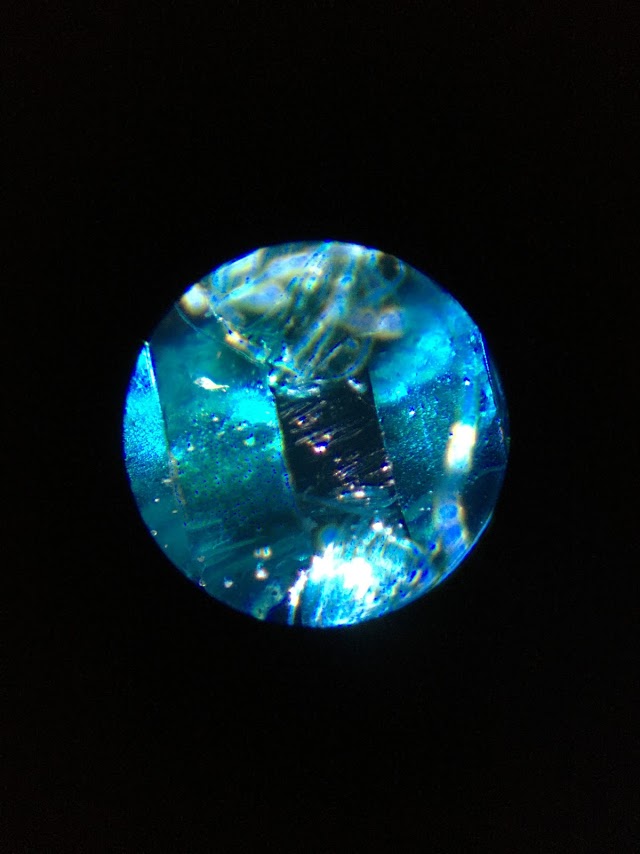
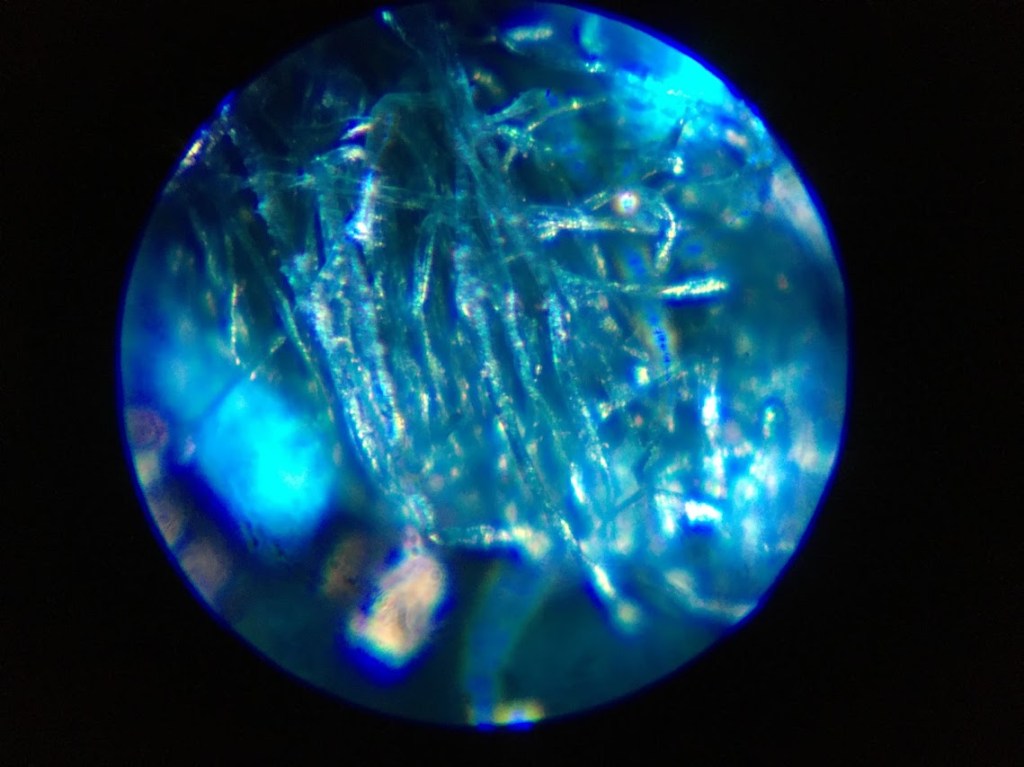
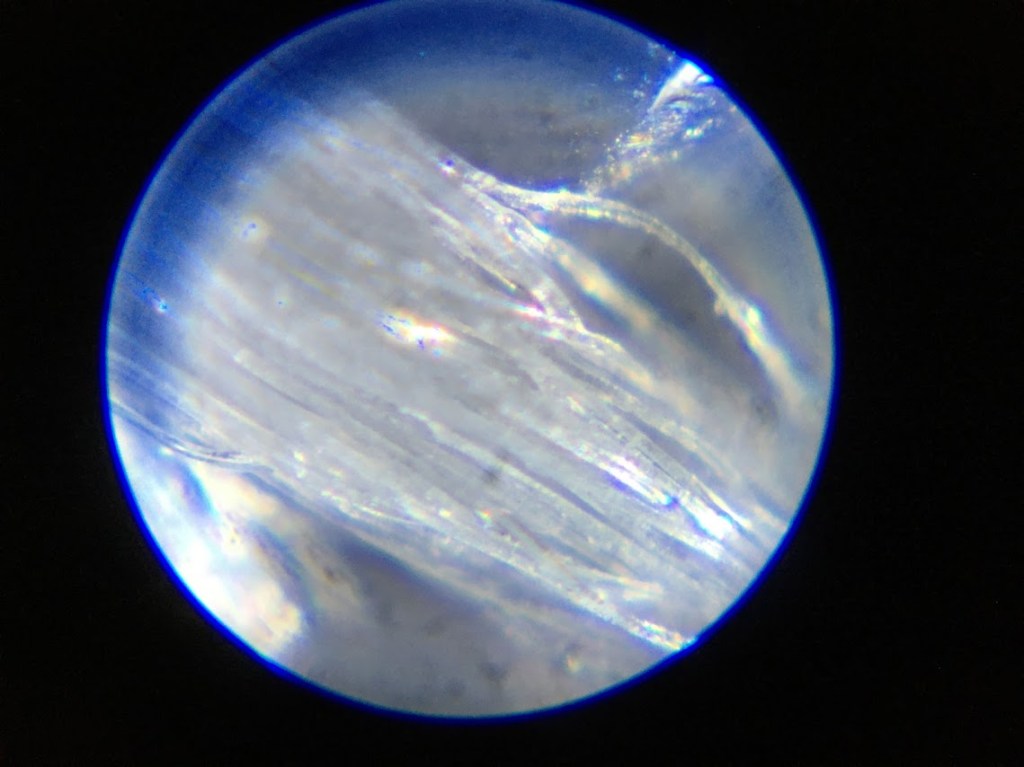
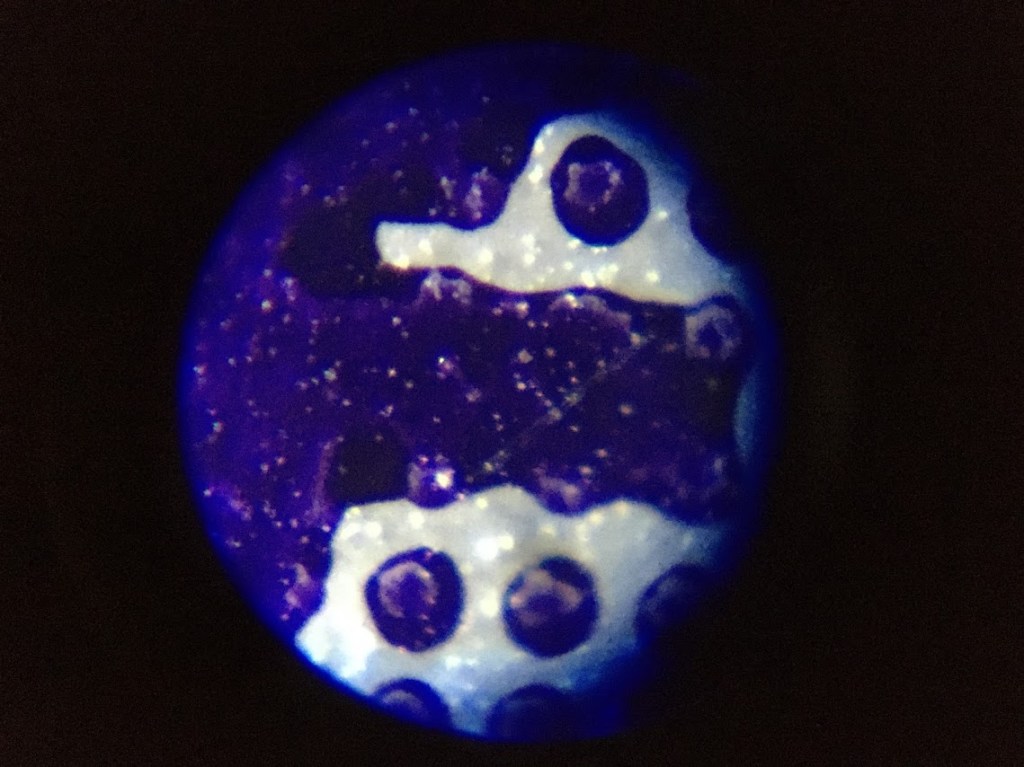
When I first began shooting these various fabrics, I kept getting a blue ring around the image and a shimmering effect which – to me, ruined the image. After shooting many images, I was beginning to lose hope as I thought it wouldn’t work out too well. However, after a bit of playing around with the microscope I began to get the hang of it I managed to get the blue ring to disappear.
This gave me a bit more motivation to continue as I was beginning to think this was yet another idea down the drain, so I gathered more materials and tried again.
Once I had gathered enough images, I began editing them in order to make some of the lighting was right as some of the images were too bright or a had a bit of a blue ring to it.
My time management improved drastically this unit and I had everything prepared for hand-in almost a week before giving me plenty of time to edit and touch-up any of the photos before I sent them off to be printed.
I am incredibly happy with how the images turned out, although I believe the quality could have been much better but you do need to take into account that it was shot on an phone camera. Nevertheless, I think this unit was a big success compared to previous units.
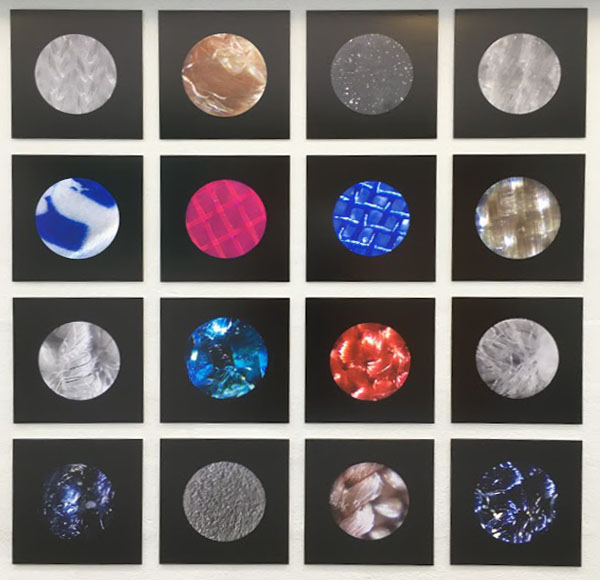
Before I mounted my work on the wall, I spent a little while re-arranging the images printed in order to make sure the colours complimented each other rather than some of the colours feeling too clustered or too messy.
Personally, I am incredibly pleased with the final results. I also believe that this is the most successful unit by far; I did various different experimentations to help me figure out which method I preferred, documented it correctly and ensured all my blog posts were all up-to-date.
For the next project I aim to continue this level of productivity throughout unit 13 and I intend to maintain my time management just the same.
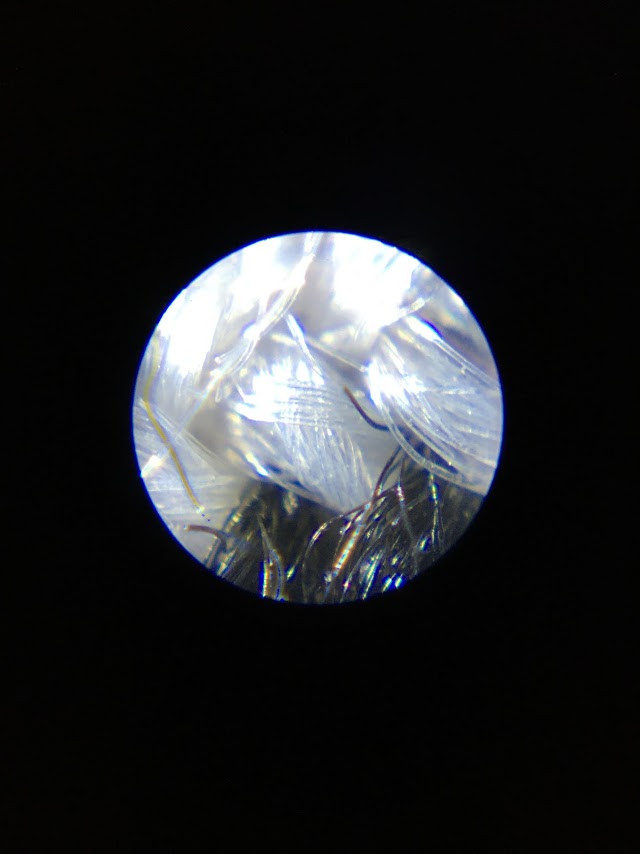
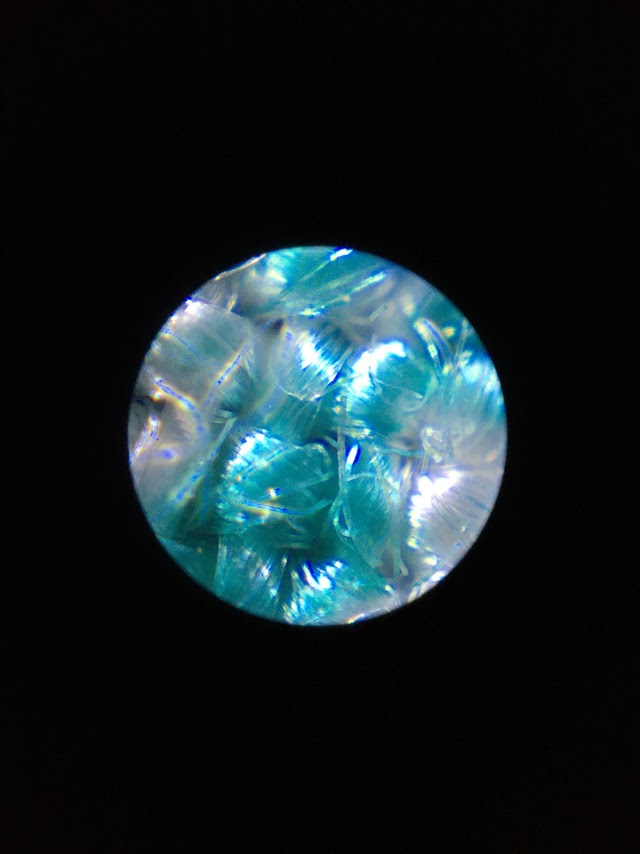
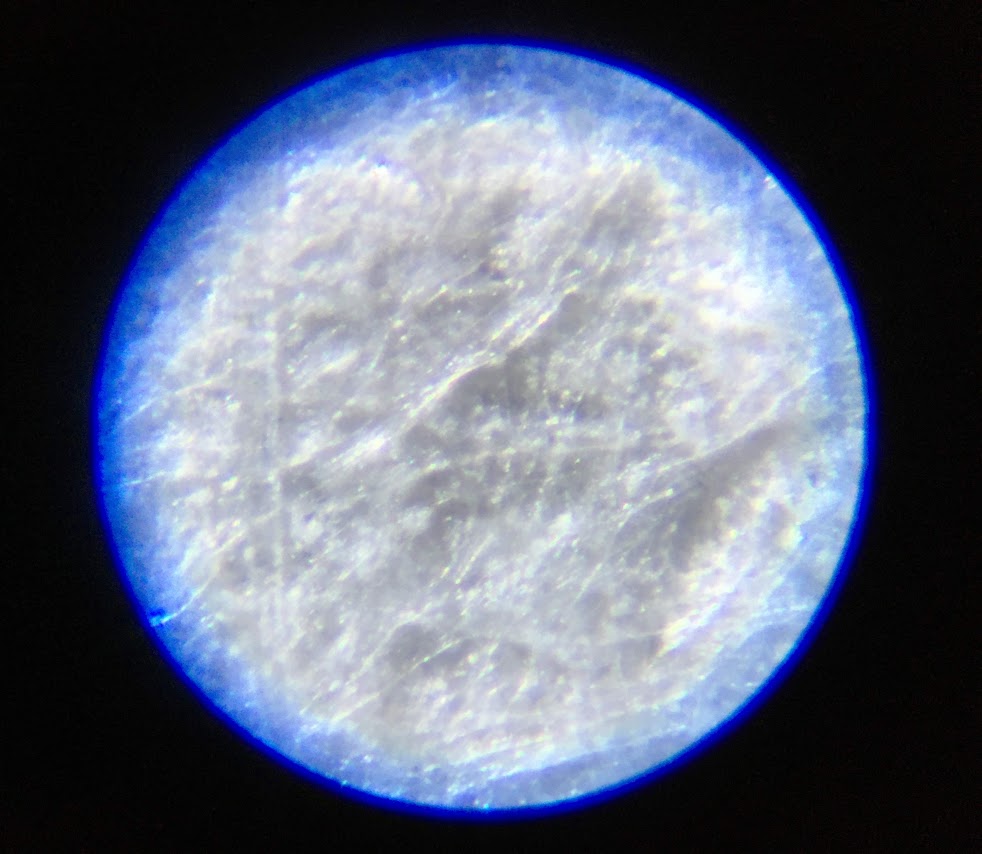
After I did my previous set of textile experimentations I still wasn’t too pleased with the results, I wanted to get clearer images and also get rid of the blue ring around the photos.
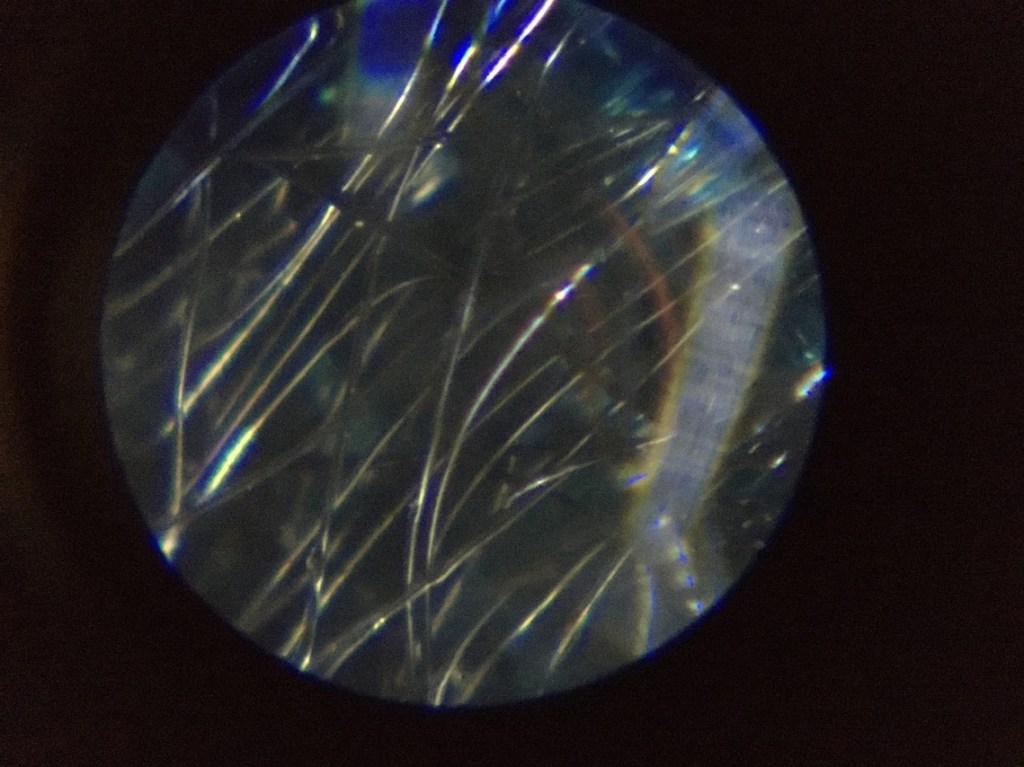
Then I managed to zoom the microscope in a bit more which gave me better results.
They came out somewhat clearer and it removed the blue ring completely and thankfully, the images still have a glowing effect to them.
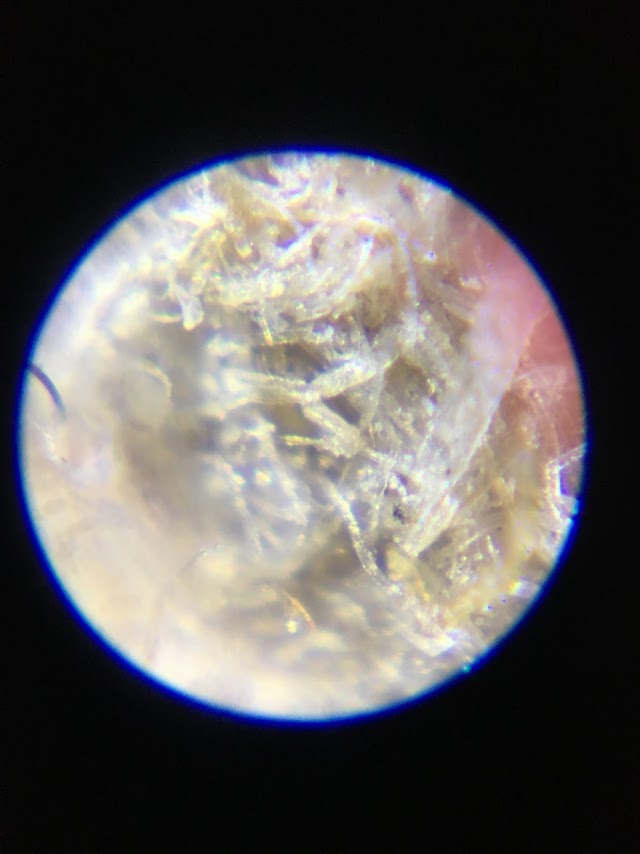
In my previous blog I had stated that I wanted to experiment with a series of different textiles under the microscope, however I didn’t want to simply have the basic textures/fabrics of everyday clothing. I wanted to find a mixture of different kinds of fabrics in order to gain more of an idea as to what I want my final pieces to look like.
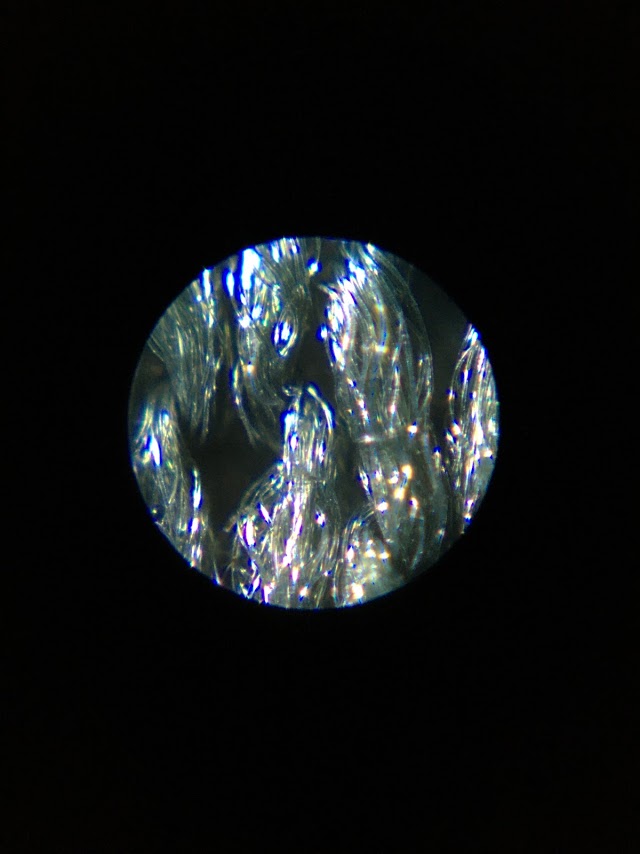
I managed to get ahold of a multitude of different textiles which caught my interest – I had a variety of colours and textures, I had some thinner materials as well as thicker, tougher materials which I knew would be great for experimentations.
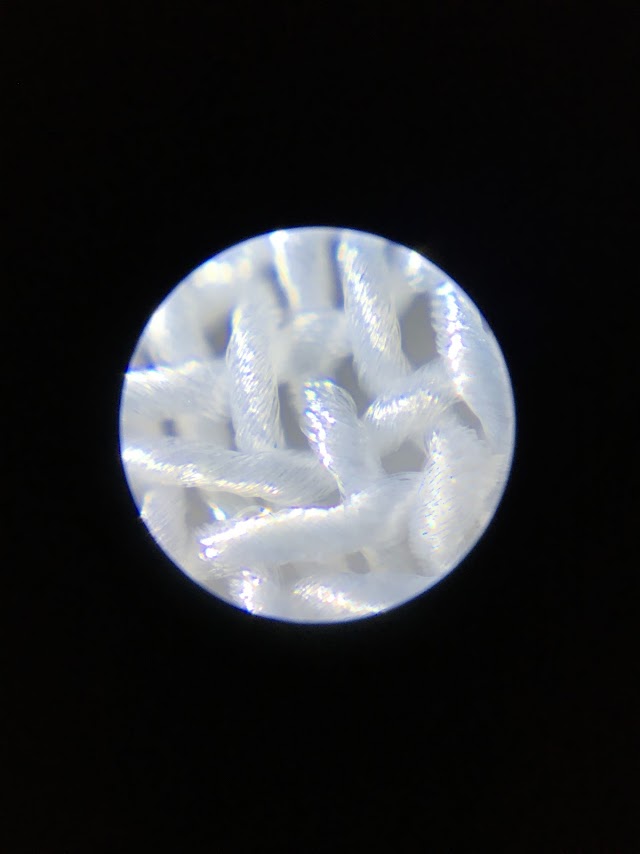
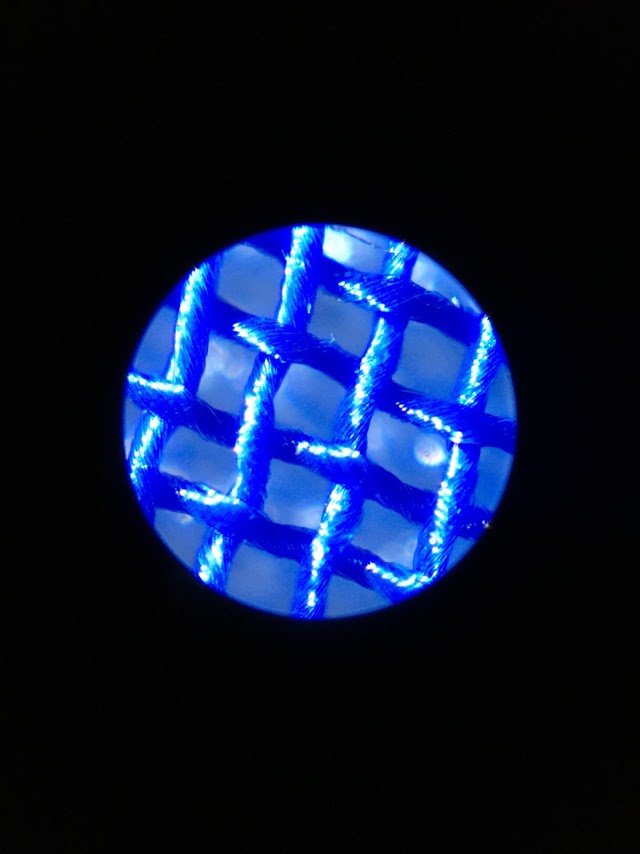
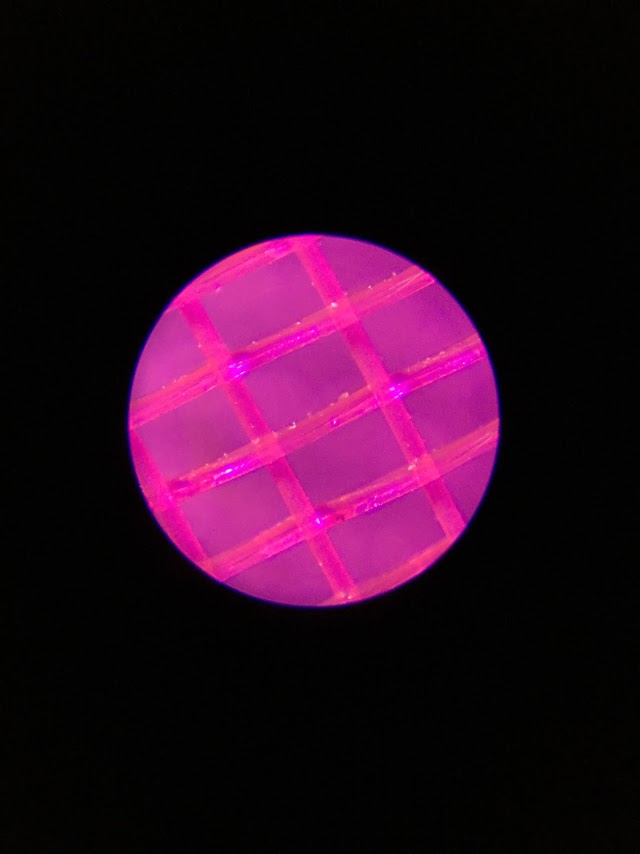
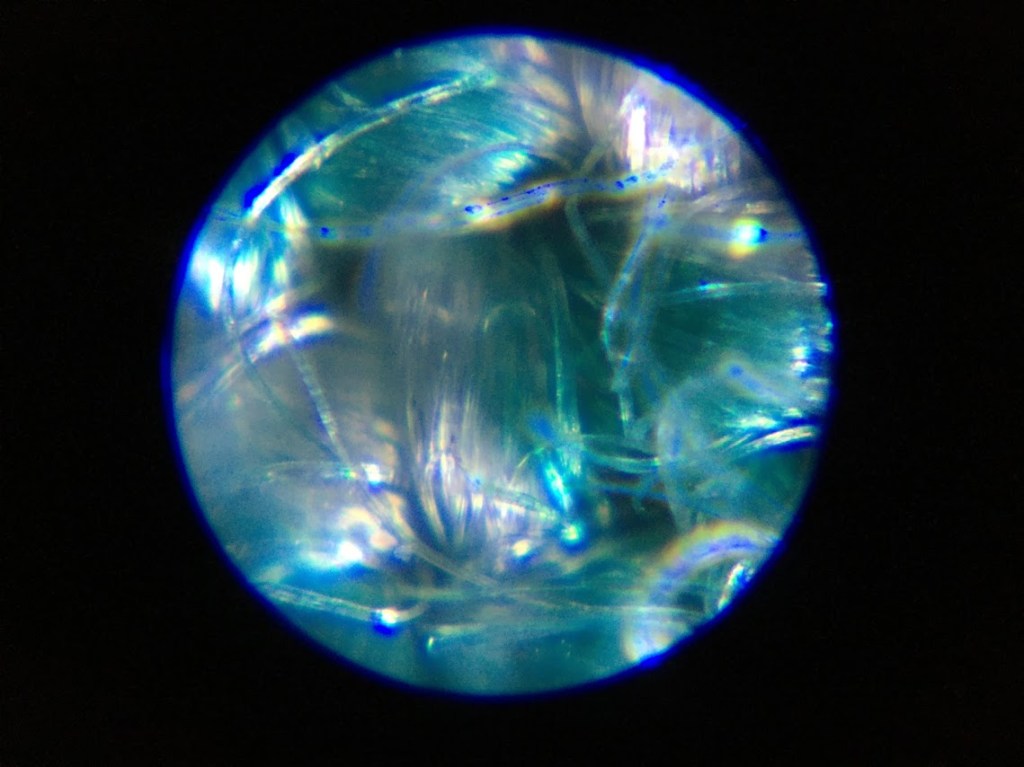
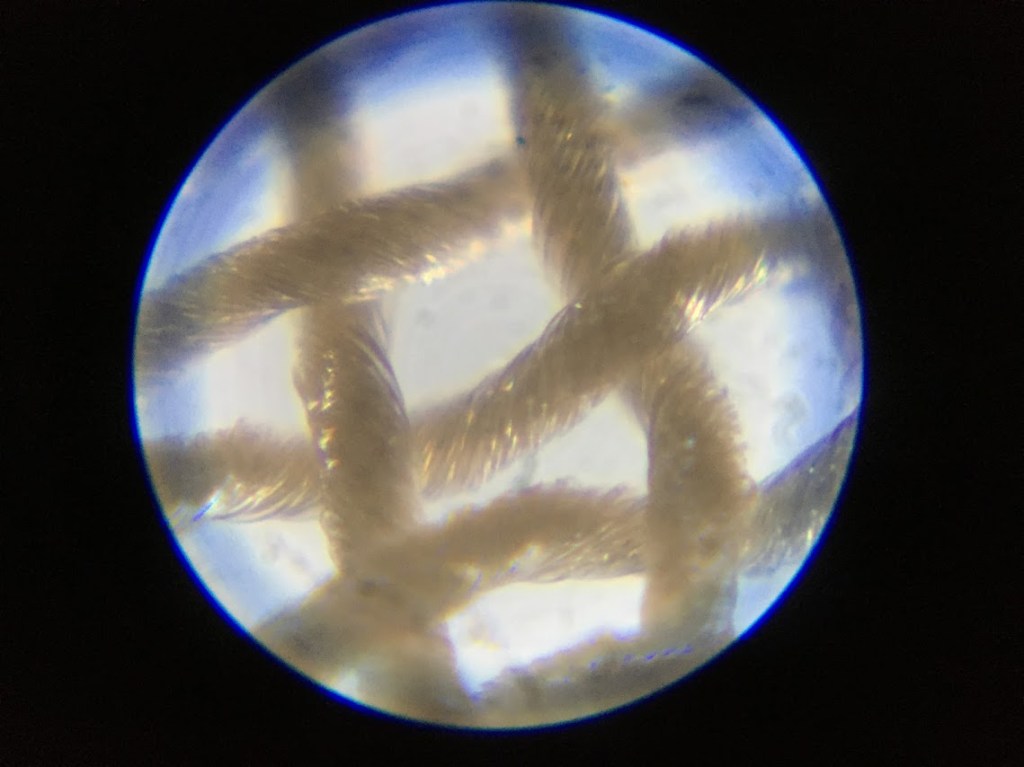
There were two pieces of a mesh-like fabric which was incredibly fine and quite see through which I was immediately drawn to as it wasn’t your basic material from a t-shirt or a jacket. The fabric proved to be quite interesting as it had the criss-cross pattern which I thought was pretty nice.
At first I attempted to take photos of these fabrics by themselves against the table surface however, it made the image a bit too dark therefore I used another one of the materials – a bright, white fabric which worked well with the brightly coloured mesh.
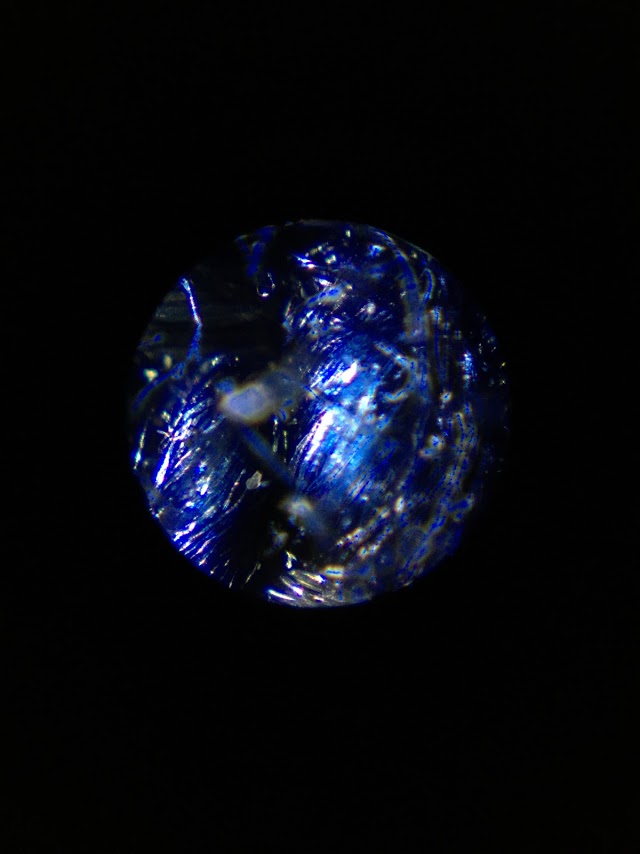
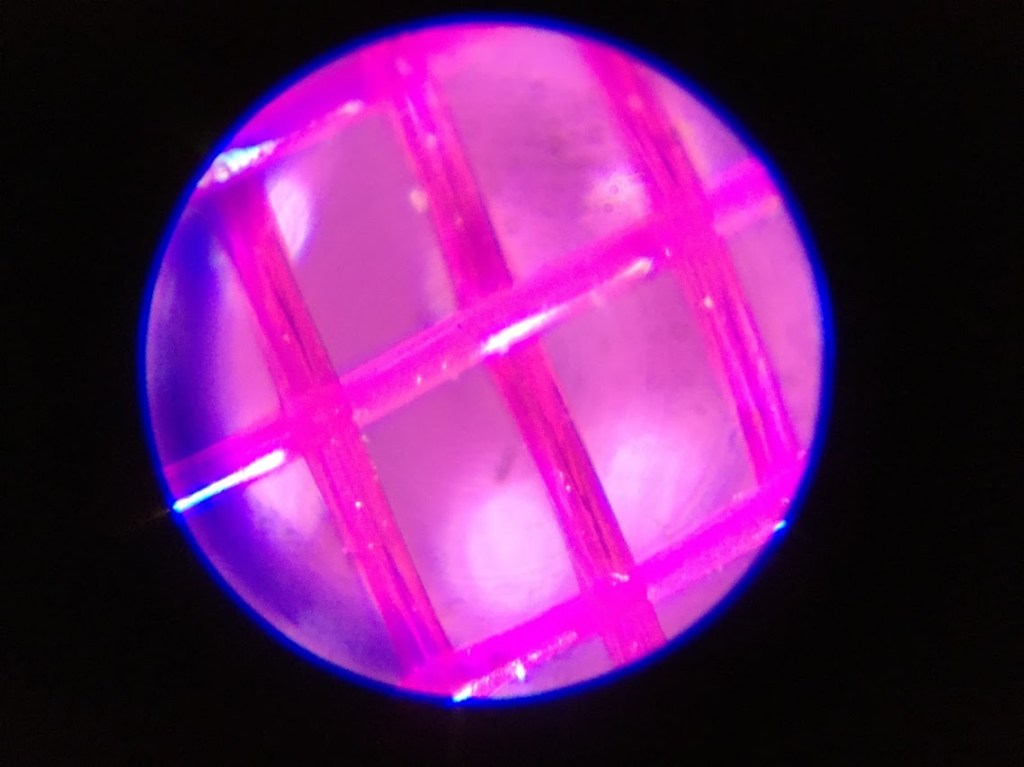
I found yet another loose fabric which had a similar look to the mesh ones, however the blue material was a thicker, shimmery material. At first I thought this material was going to be somewhat difficult as the light already added the effect I had issues with previously, however it seemed to come out quite successfully.
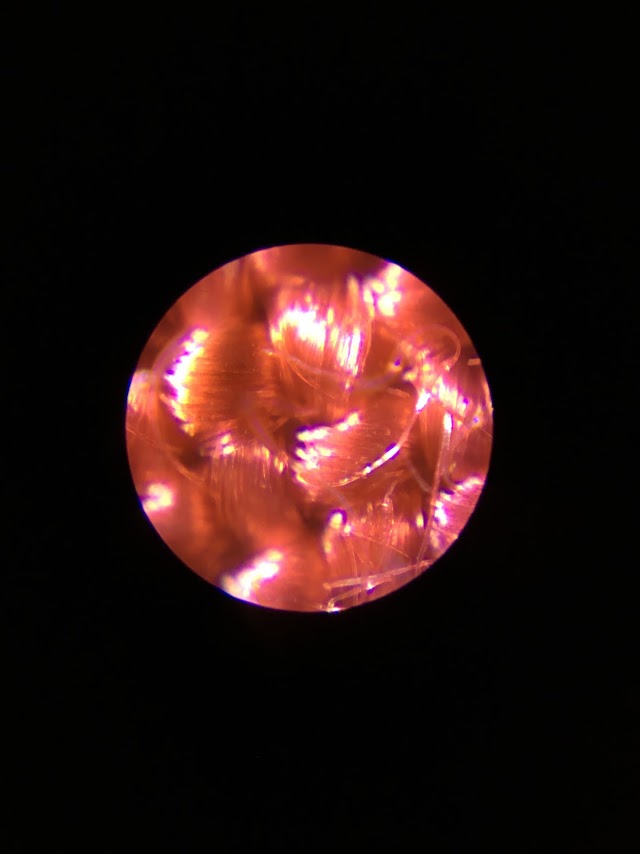
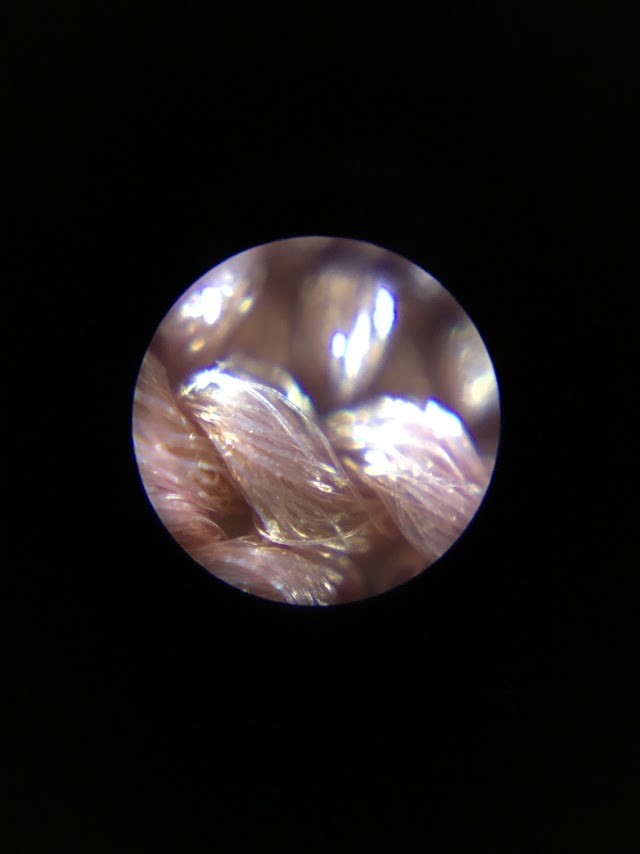
These two materials varied the most – the image on the left was a piece of black leather-ish material whereas the image on the right was from a thick, embroided piece of material.
The first image is from a piece of what looked like black denim which was quite thick compared to the other material – stuffing from inside a stuffed animal.
For the second image I had to take several shots as I couldn’t place it directly under the microscope as I couldn’t focus the lens properly, so I had to somewhat hold the microscope above the material whilst trying to take the image. Nevertheless, I am pleased with how these came out.
In my opinion they were more successful than my previous attempt since I now knew what had to be done.
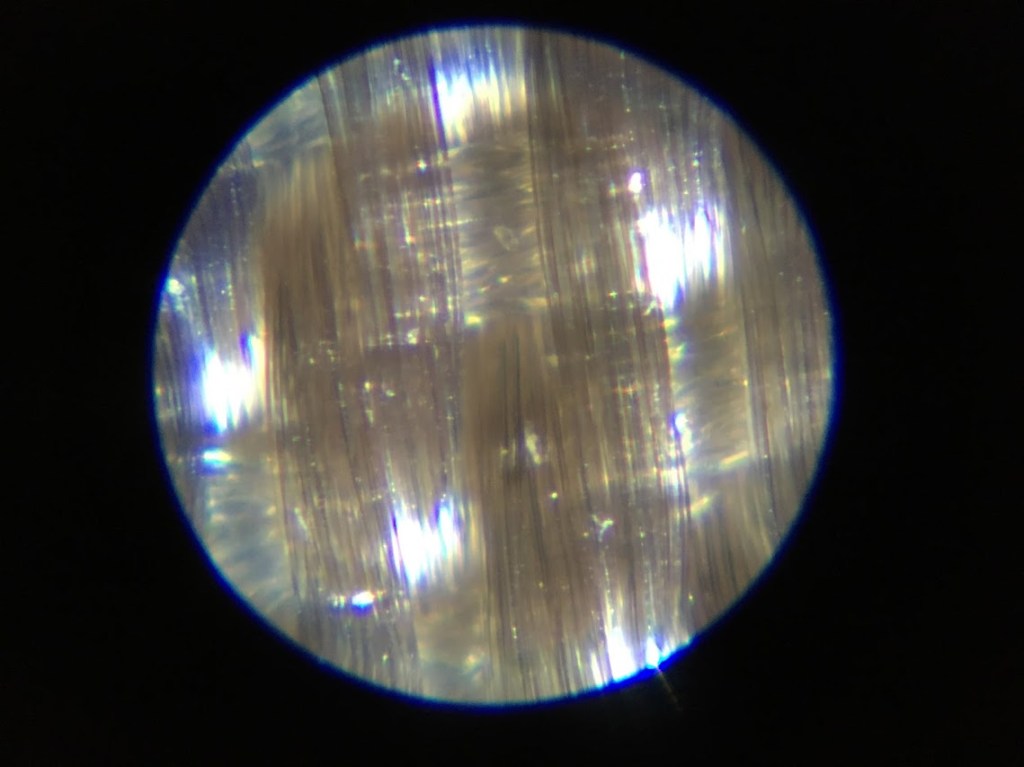
Once I did research and knew I was one hundred percent certain that I wished to continue this route, I began to do some experimentations. I used a microscope and was able to take several photographs using my phone camera.
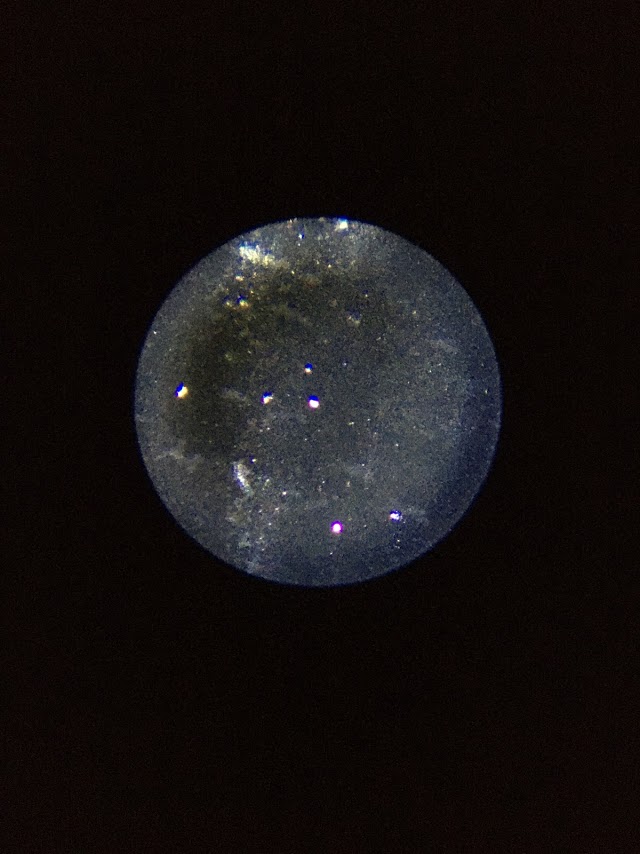
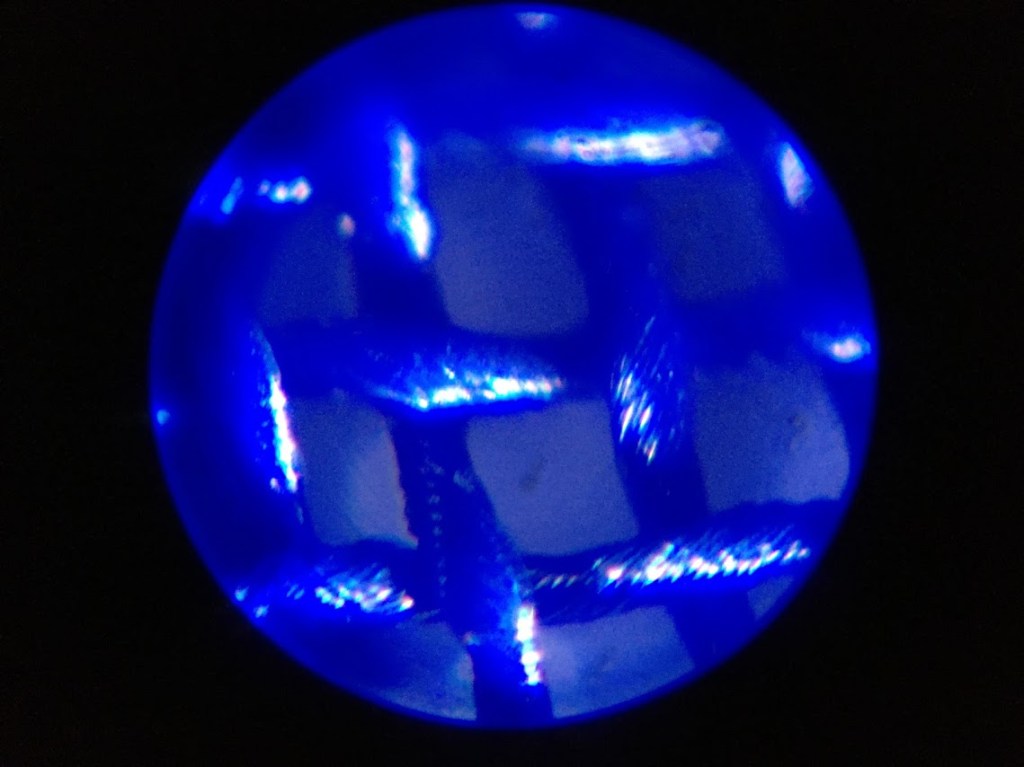
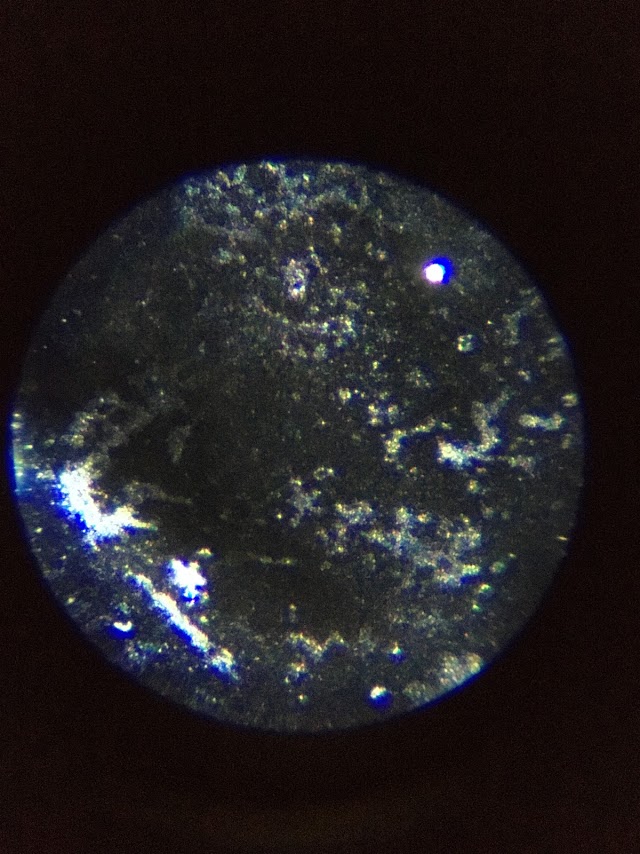
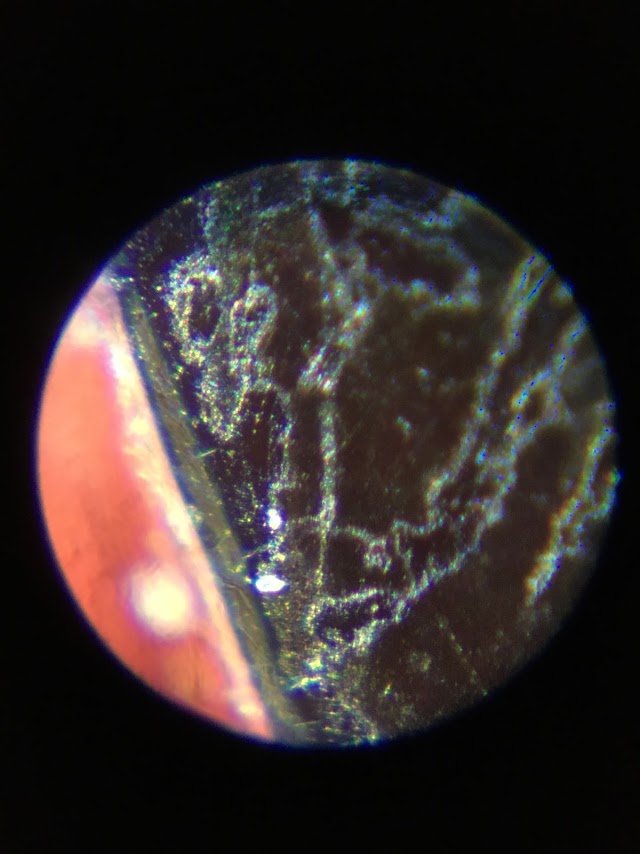
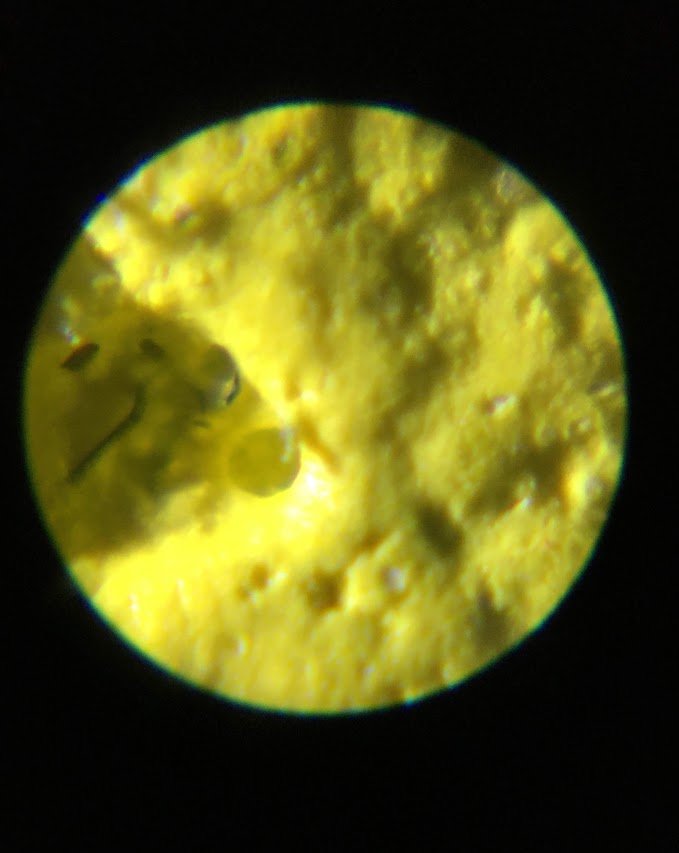
Some of the images had a blue ring around them, I attempted to get rid of it and succeed in only a handful of images, however I still enjoyed the process. It was quite fun to do – originally I thought it was a very simple process however it did take a while to get the phone in the right position and try to get rid of the blue ring. Especially images like the one above (left); a close up of a piece of paper where the blue showed up with ease because of the white background.
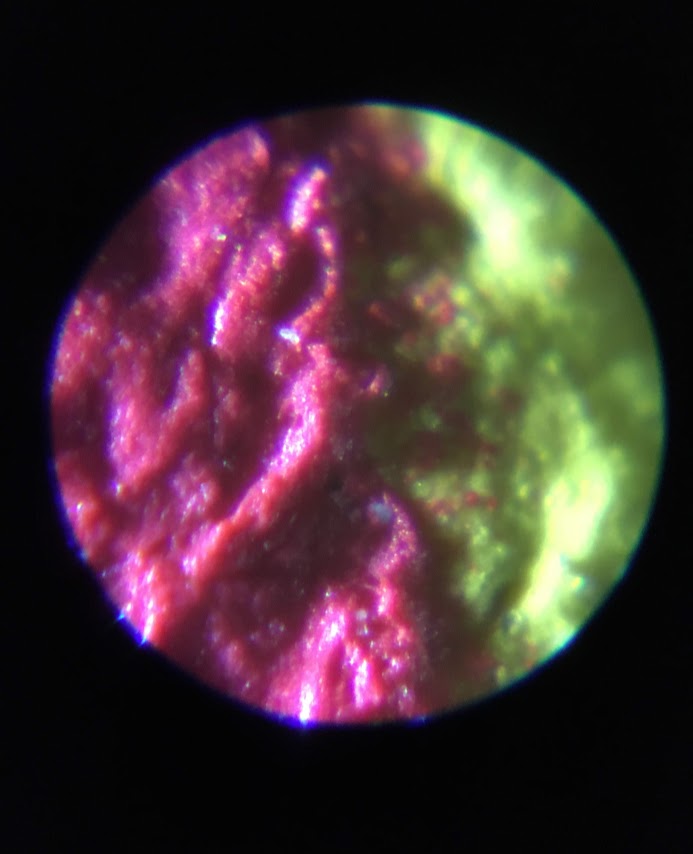
In the image (right) image the blue wasn’t as harsh – however it was still there, which was aggravating as they kept either having the blue ring or almost like a glimmer to it. But I was still happy to get some of the results that I got.
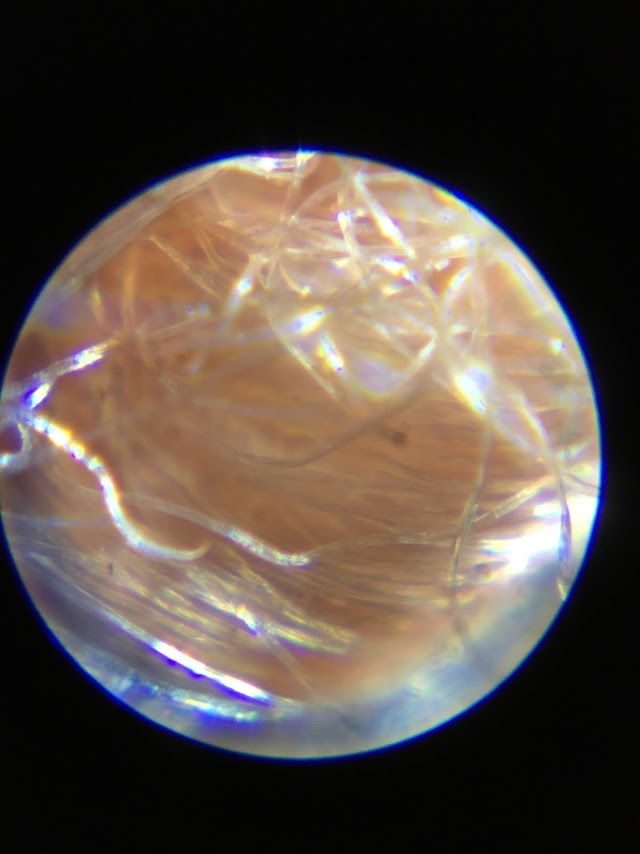
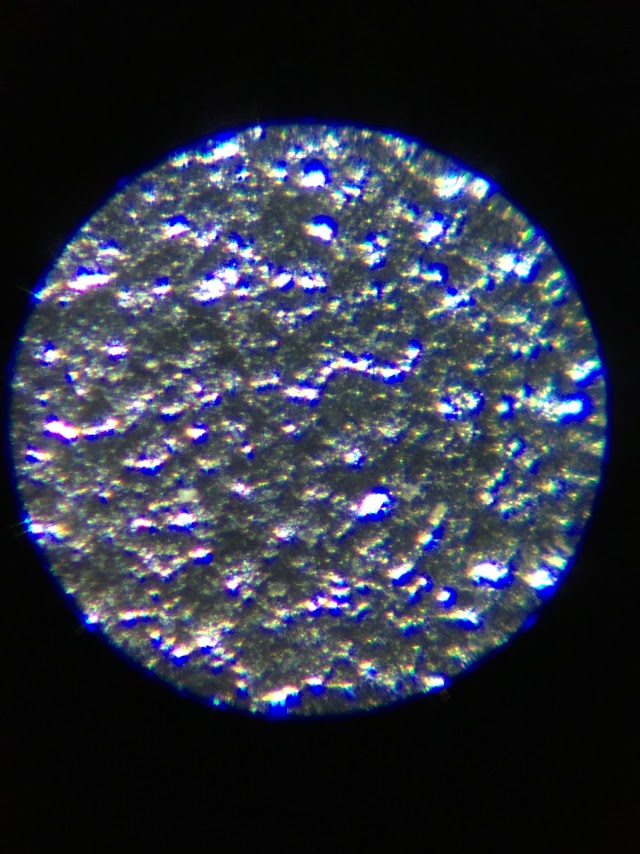
This is one of the images with the better results, there wasn’t much of a blue ring and there wasn’t the shimmering I had previously mentioned. It was a close up of a sticker.
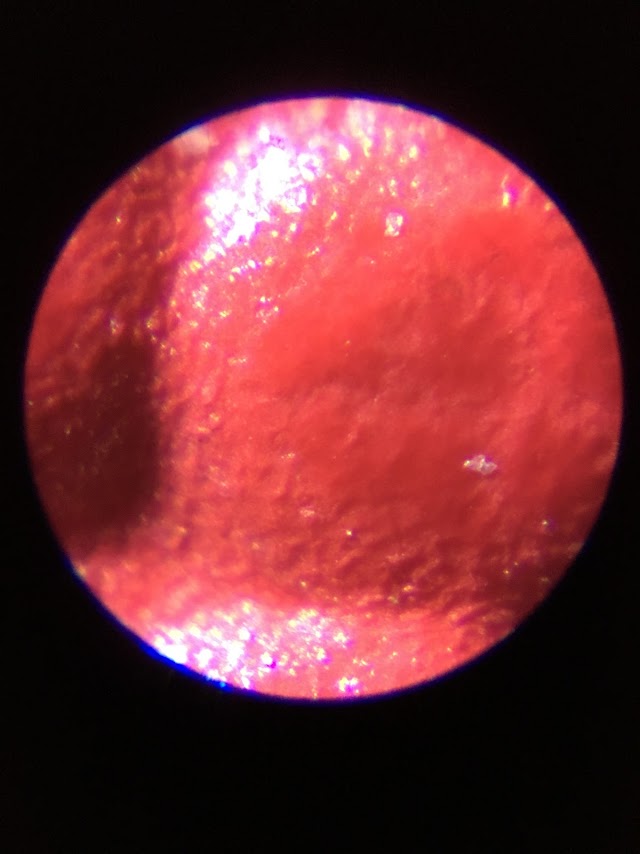
I took these three photos of a purse as it had a mixture of textures – leather, metal and string which gave me multiple images varying in texture making them seem like three different images.
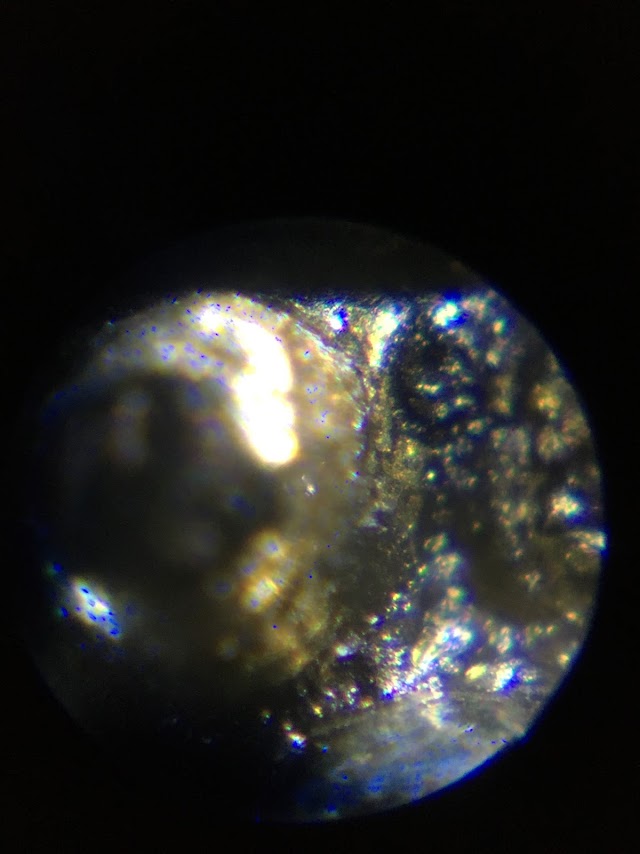
These are two examples of the glimmering effect that started to take place after a while – there’s multiple other images which look similar. At first, I believed it was the fact it was on a metallic surface however I took photos of fabrics such as jeans and hoodies with a similar effect to them.
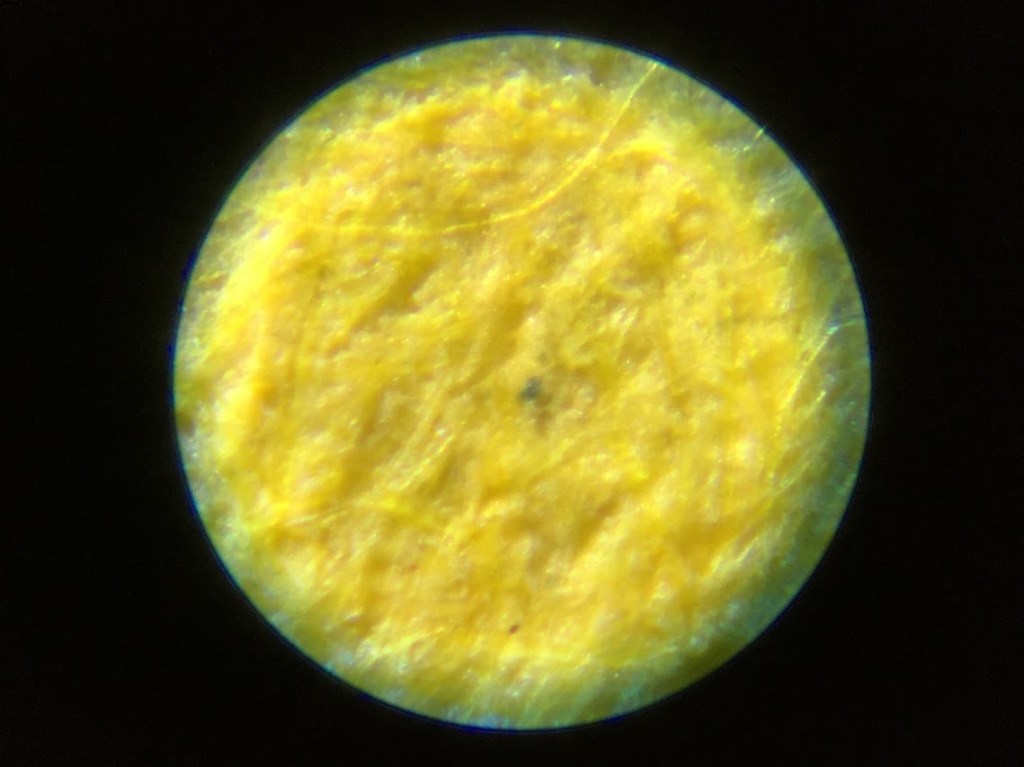
This was a close up of a food wrapper – it had the blue circle, however it thankfully blended due to the colouring on the packaging.
This was a close up of a logo on a hoodie which is yet another image that had a glimmering effect. For my final piece I am planning on getting several microscopic images of different fabrics/textiles. I’m hoping to have a range of colours going in order.
Microscopic photography wasn’t something I had considered until a week or so ago as I was still uncertain with which route I was going to take with my project.
I knew I wanted to incorporate nature as it is something I will forever find beauty in and find fascinating. But I wasn’t sure how to go about it.
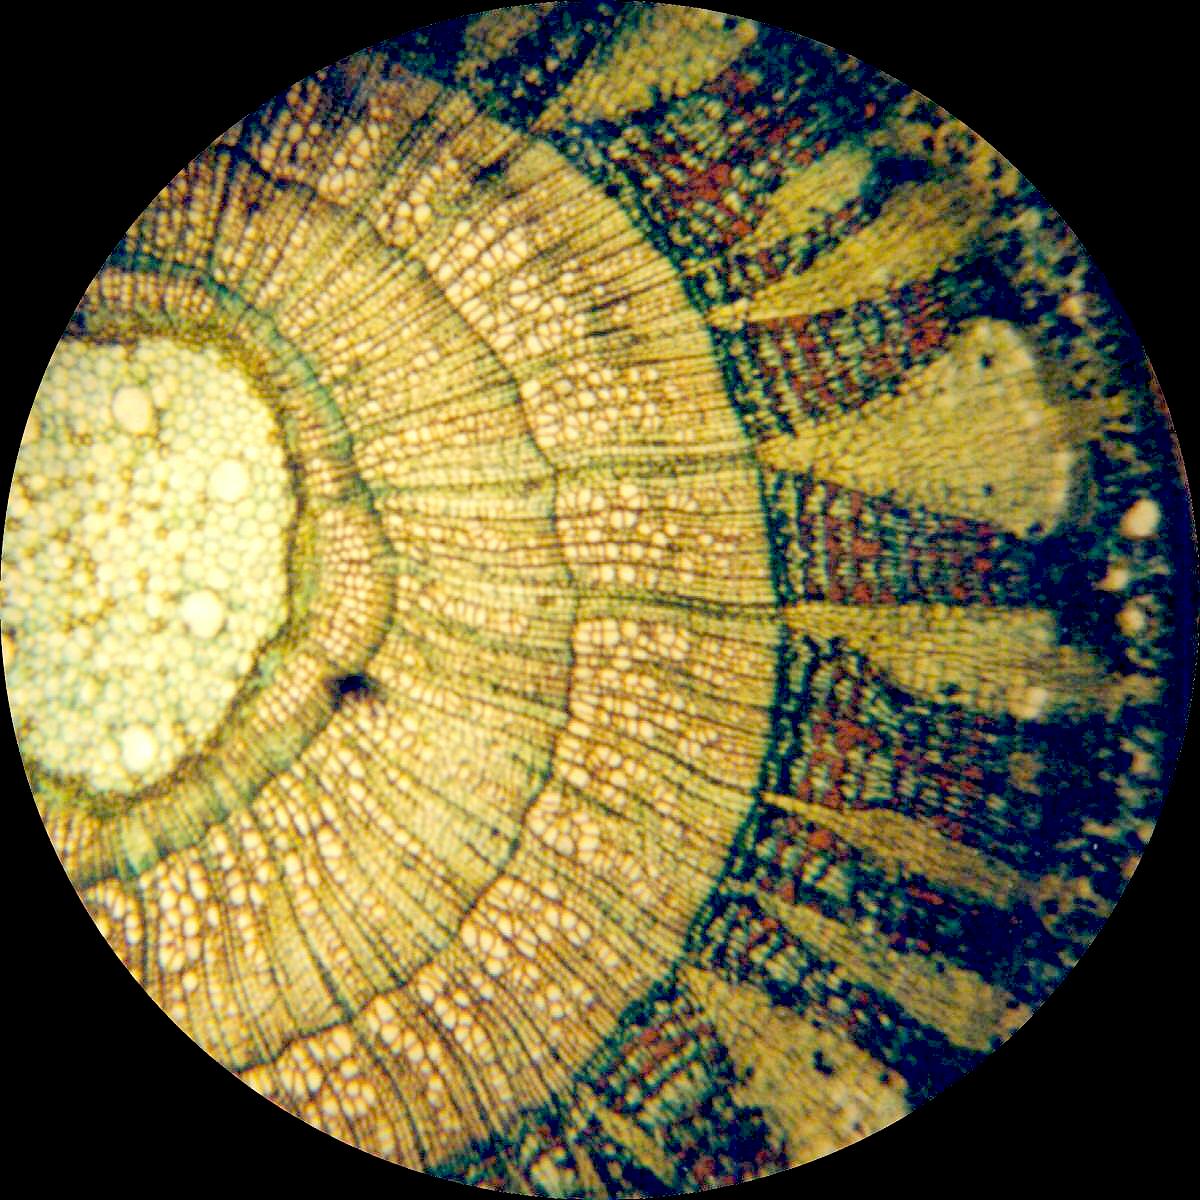
After doing some research on microscopic photography, I discovered a few plant based images that I really liked the look of and immediately became intrigued as to how I could bring that into my project. For example, I found a microscopic photograph of a leaf which I found fascinating.
After doing said research, I decided to attempt to do some experimentations which was quite successful. It did take me a few attempts to get the hang of it was I had to balance my phone camera on the microscope and attempt to get the focus just right but after a while I did get some good shots.